If you haven’t yet incorporated a primer into your daily makeup product repertoire, you may be wondering if you really need it. But even if you take the time to apply your makeup to perfection, the last thing you want is to look in the mirror a few hours later and find that all your makeup has melted away. A good makeup base will not only help you look longer, it will make it easier to apply the rest of your makeup, and it will also benefit your skin’s overall health. Ready to learn how to apply face primer? Here’s a step-by-step guide to getting the most out of primer in your daily makeup routine.
Please choose a makeup base
We have three distinctive primers that are perfect for every day, depending on your skin type and the effect you want to achieve.
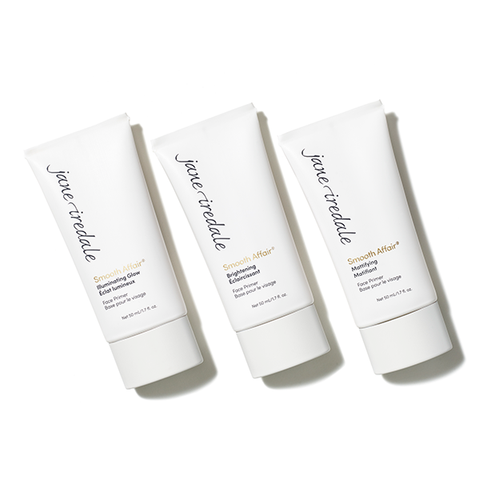
Smooth Affair® Brightening Face Primer is a great option for most skin types, especially those with mature or mature skin. This skin-quenching primer contains green and white tea leaf extracts to promote anti-aging effects while minimizing the appearance of pores and wrinkles.
Looking for the best primer for oily skin? If you want to control shine, use Smooth Affair® Mattifying Face Primer, which is specially formulated for oily skin types. Cutting-edge mineral science and innovative PoreAway™ technology are combined in this primer to even out skin, smooth blemishes and create a matte finish.
If you’re looking for dewy skin, the new Smooth Affair® Illumination Glow Face Primer is perfect for you. Hyaluronic acid and shea butter lock in moisture, while mica creates a soft-focus pearlescent finish. If you’re looking for a “natural glow”, look no further.
condition the skin
Primer can certainly help moisturize and even out your skin tone before applying the rest of your makeup, but it’s not a substitute for a proper skin care routine. Before you begin, keep things simple by creating a clean, hydrated base with jane iredale’s 4-step BeautyPrep™ skin care system.

clean hands are key
You don’t need a brush, sponge or other beauty tools to apply the primer. Your own hands are enough. This product is made to fill pores, so it’s important to make sure your hands are freshly washed to avoid excess dirt and oil from your fingertips clogging your pores.
Don’t squeeze out more than necessary
First, take a pea-sized amount of makeup base on the back of your hand. Doing this instead of applying directly to your face allows you to control how much product you use at a time. You can add more at any time, but this simple method will help reduce product waste.
Focus on the areas you want to smooth the most
While you want foundation to create the perfect makeup base everywhere, you’ll want to focus more product on your T-zone to minimize the most visible pores. The same goes for other areas of your face that have fine lines that need to be smoothed out before applying the rest of your face makeup.
Apply gently to avoid irritating or damaging the skin. This is especially important for the thin and delicate skin around the eyes. Apply the product to this area using your ring finger, using as little pressure as possible.
Wait until the primer hardens before continuing
When applying a primer, your goal is to create a flawless, smooth barrier for the rest of your makeup to glide through, but if your goal is to create more coverage with products you already know, use a primer with the intention Mixing it with foundation is a great choice. Love!
First, squeeze Glow Time® Full Coverage Mineral BB Cream onto the back of your hands, add a small amount of your favorite primer, and mix in your hands before applying to your face. You can experiment with the ratio of foundation to primer when blending to see how much coverage you get.
When you incorporate a primer into your daily beauty routine, you’ll notice a difference in not only how your makeup looks, but how well it stays on throughout your busy day. You’ll spend less time worrying about raccoon eye touch-ups and patchy, uneven foundation. Set yourself up for success by not skipping this simple step at the beginning of the process.