February 16, 2024
After making this vintage-inspired heart-shaped hat, I was asked to create a tutorial. Luckily, I was able to film my process and grab some stills to make a full blog post. Don’t be afraid of this DIY. It’s actually quite simple. Although recommended for the cleanest finish, sewing is completely optional and you can easily customize the process and materials depending on the look you want and what you have on hand. If you don’t have Styrofoam, you can also make one from cardboard. But for what it’s worth, we made several prototypes using different methods and materials and found that foam was the easiest, most comfortable, and had the best structure and weight. It is a very versatile material, so please take advantage of it!
supplies
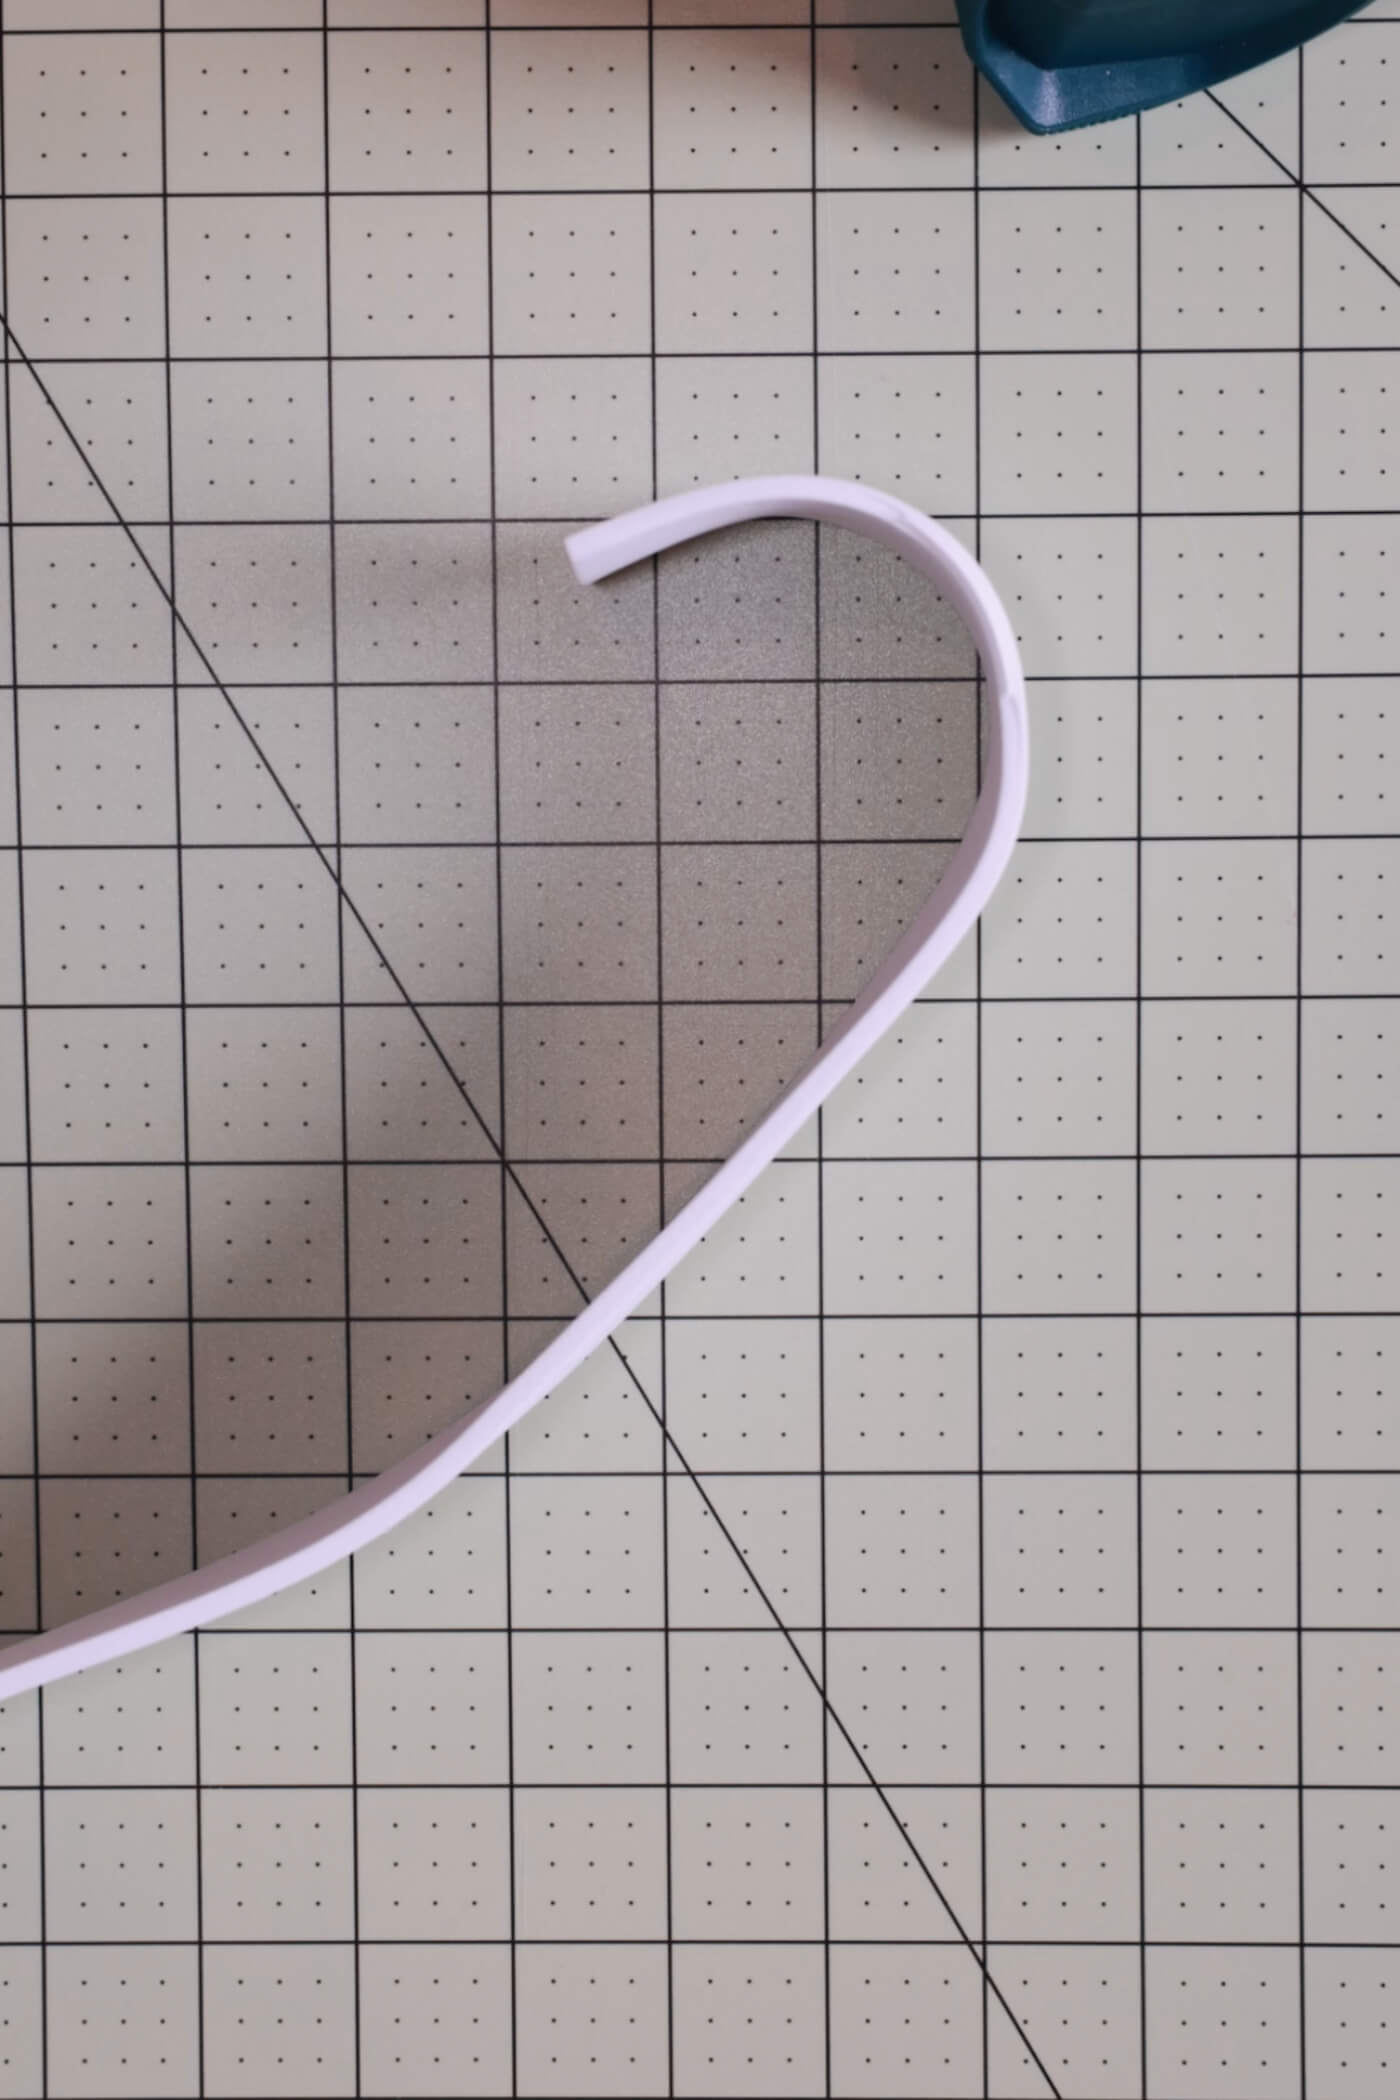
- EVA foam (4mm worked perfectly)
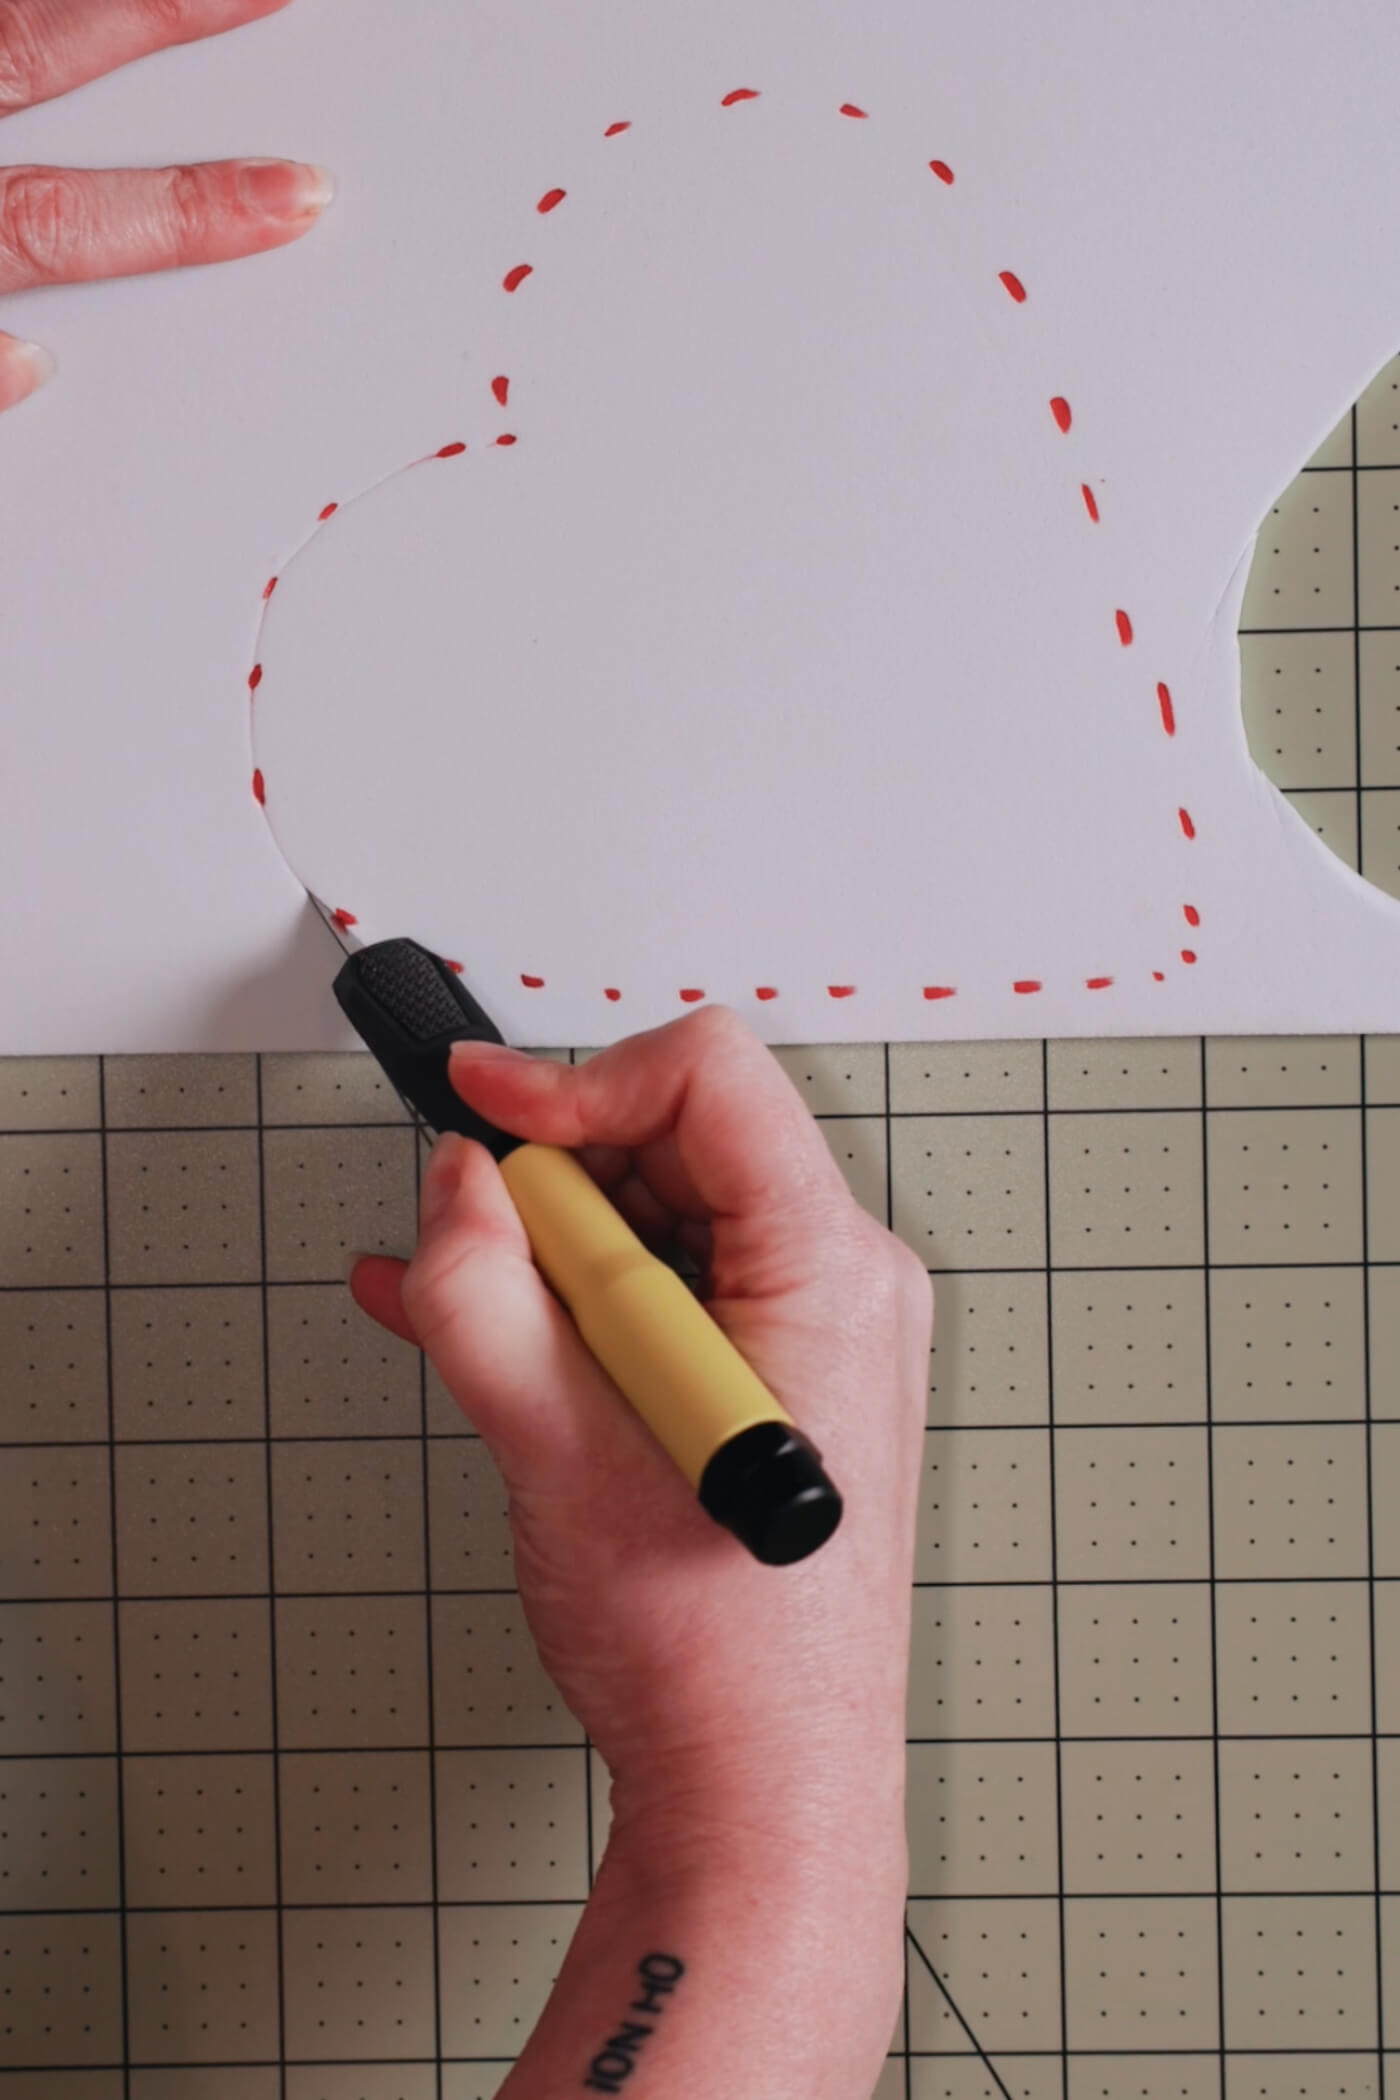
- accurate knife
- heat gun
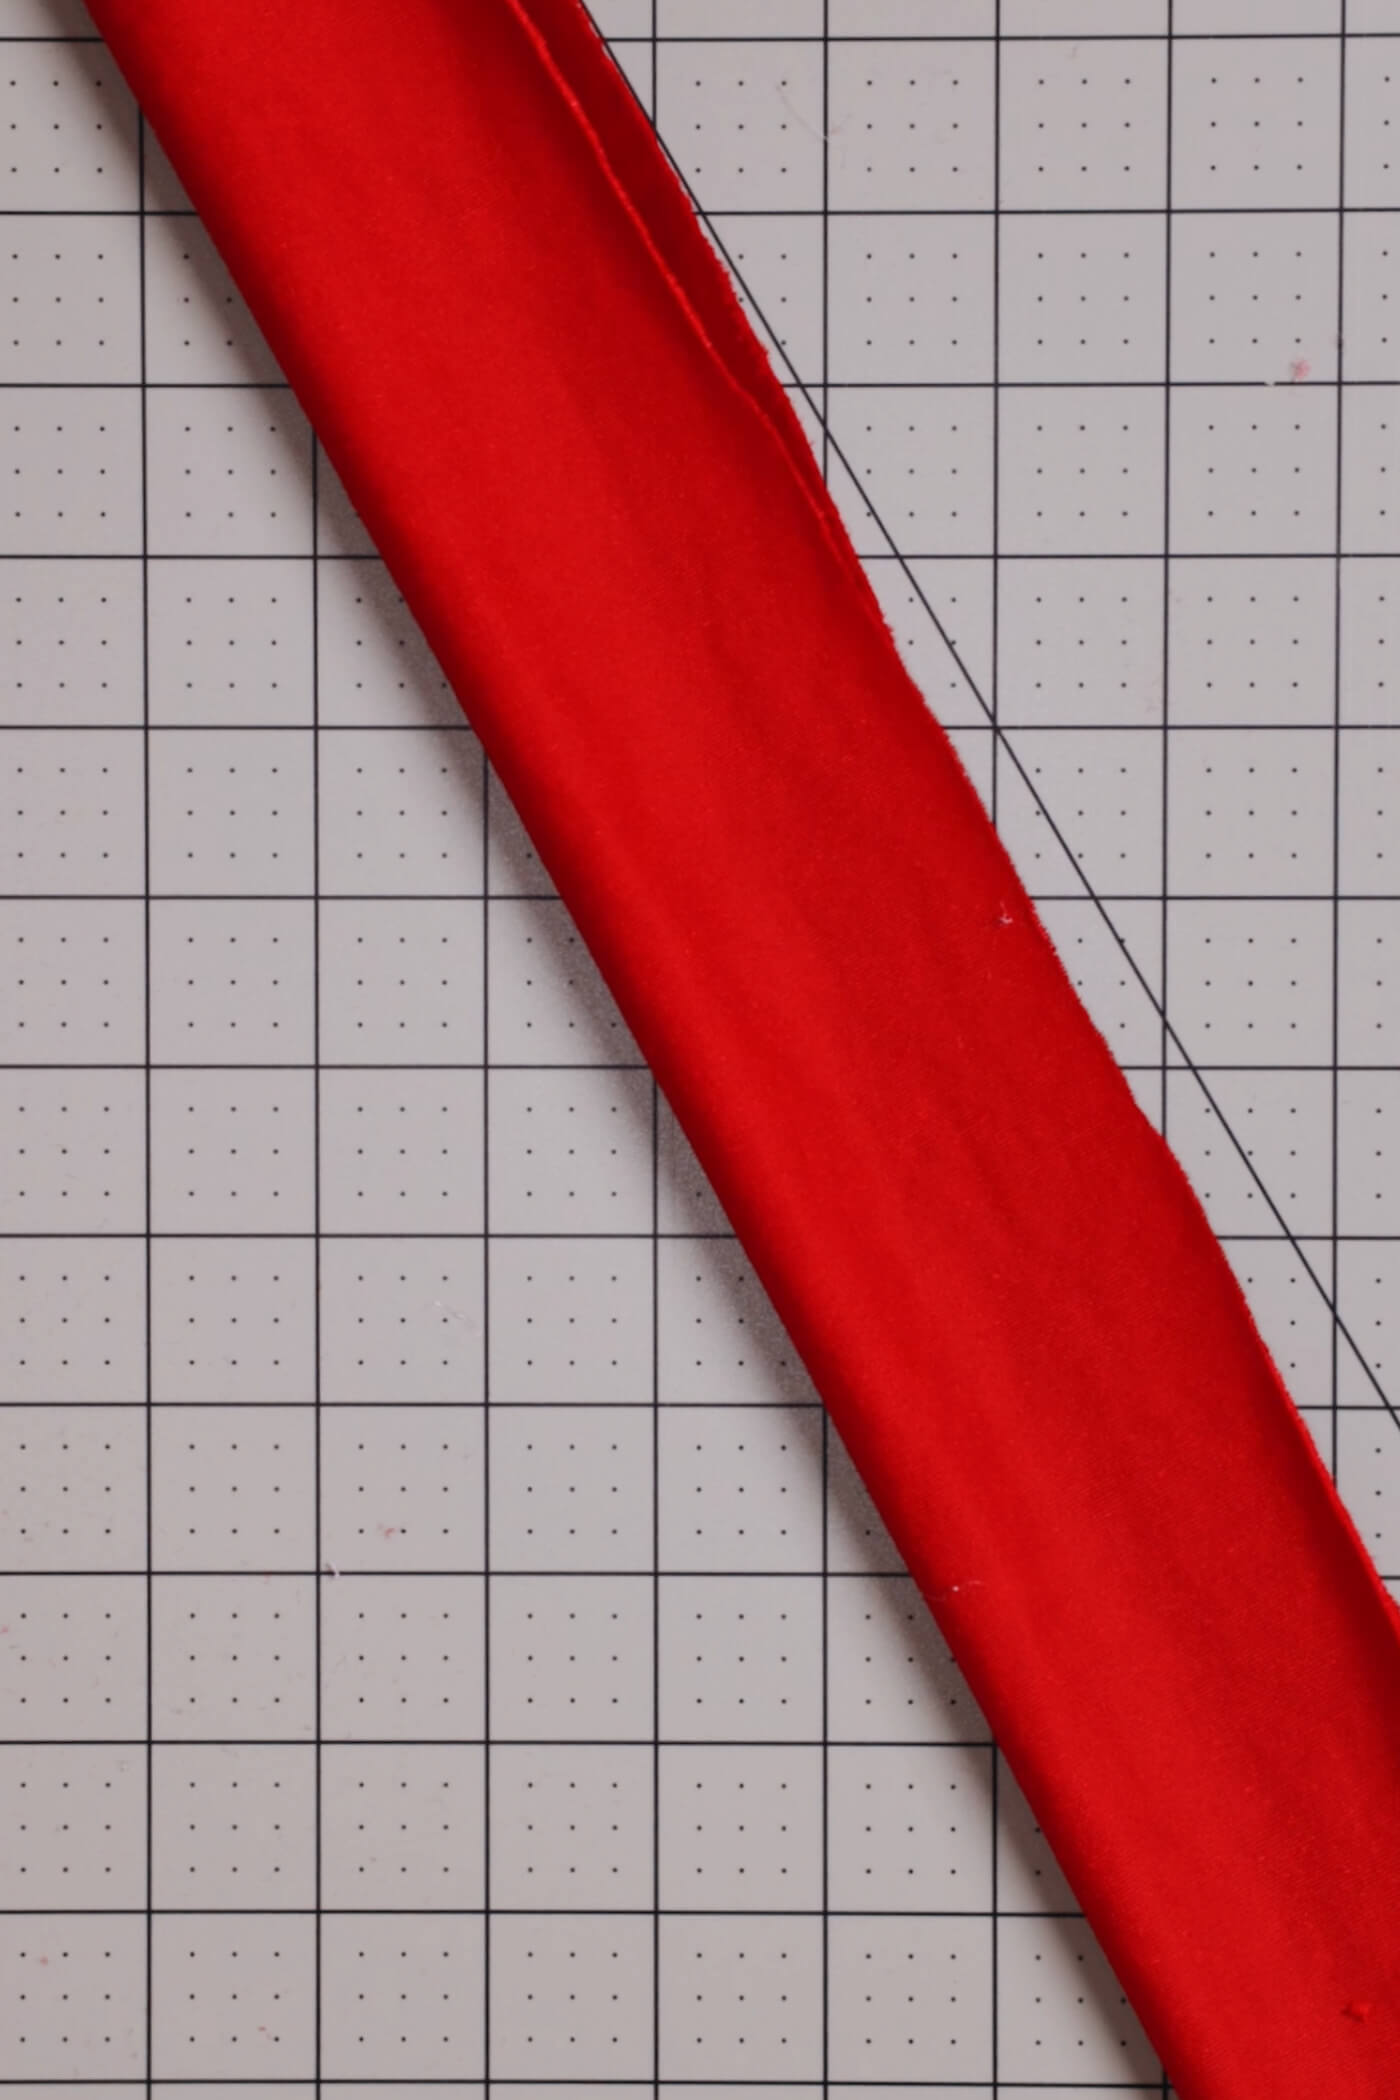
- Fabric of your choice (I used stretch velvet)
- Trim of your choice (I used lace and pearls)
- velvet ribbon
- hot glue gun
- Needle and thread and sewing machine are optional
How to make a heart-shaped hat step by step
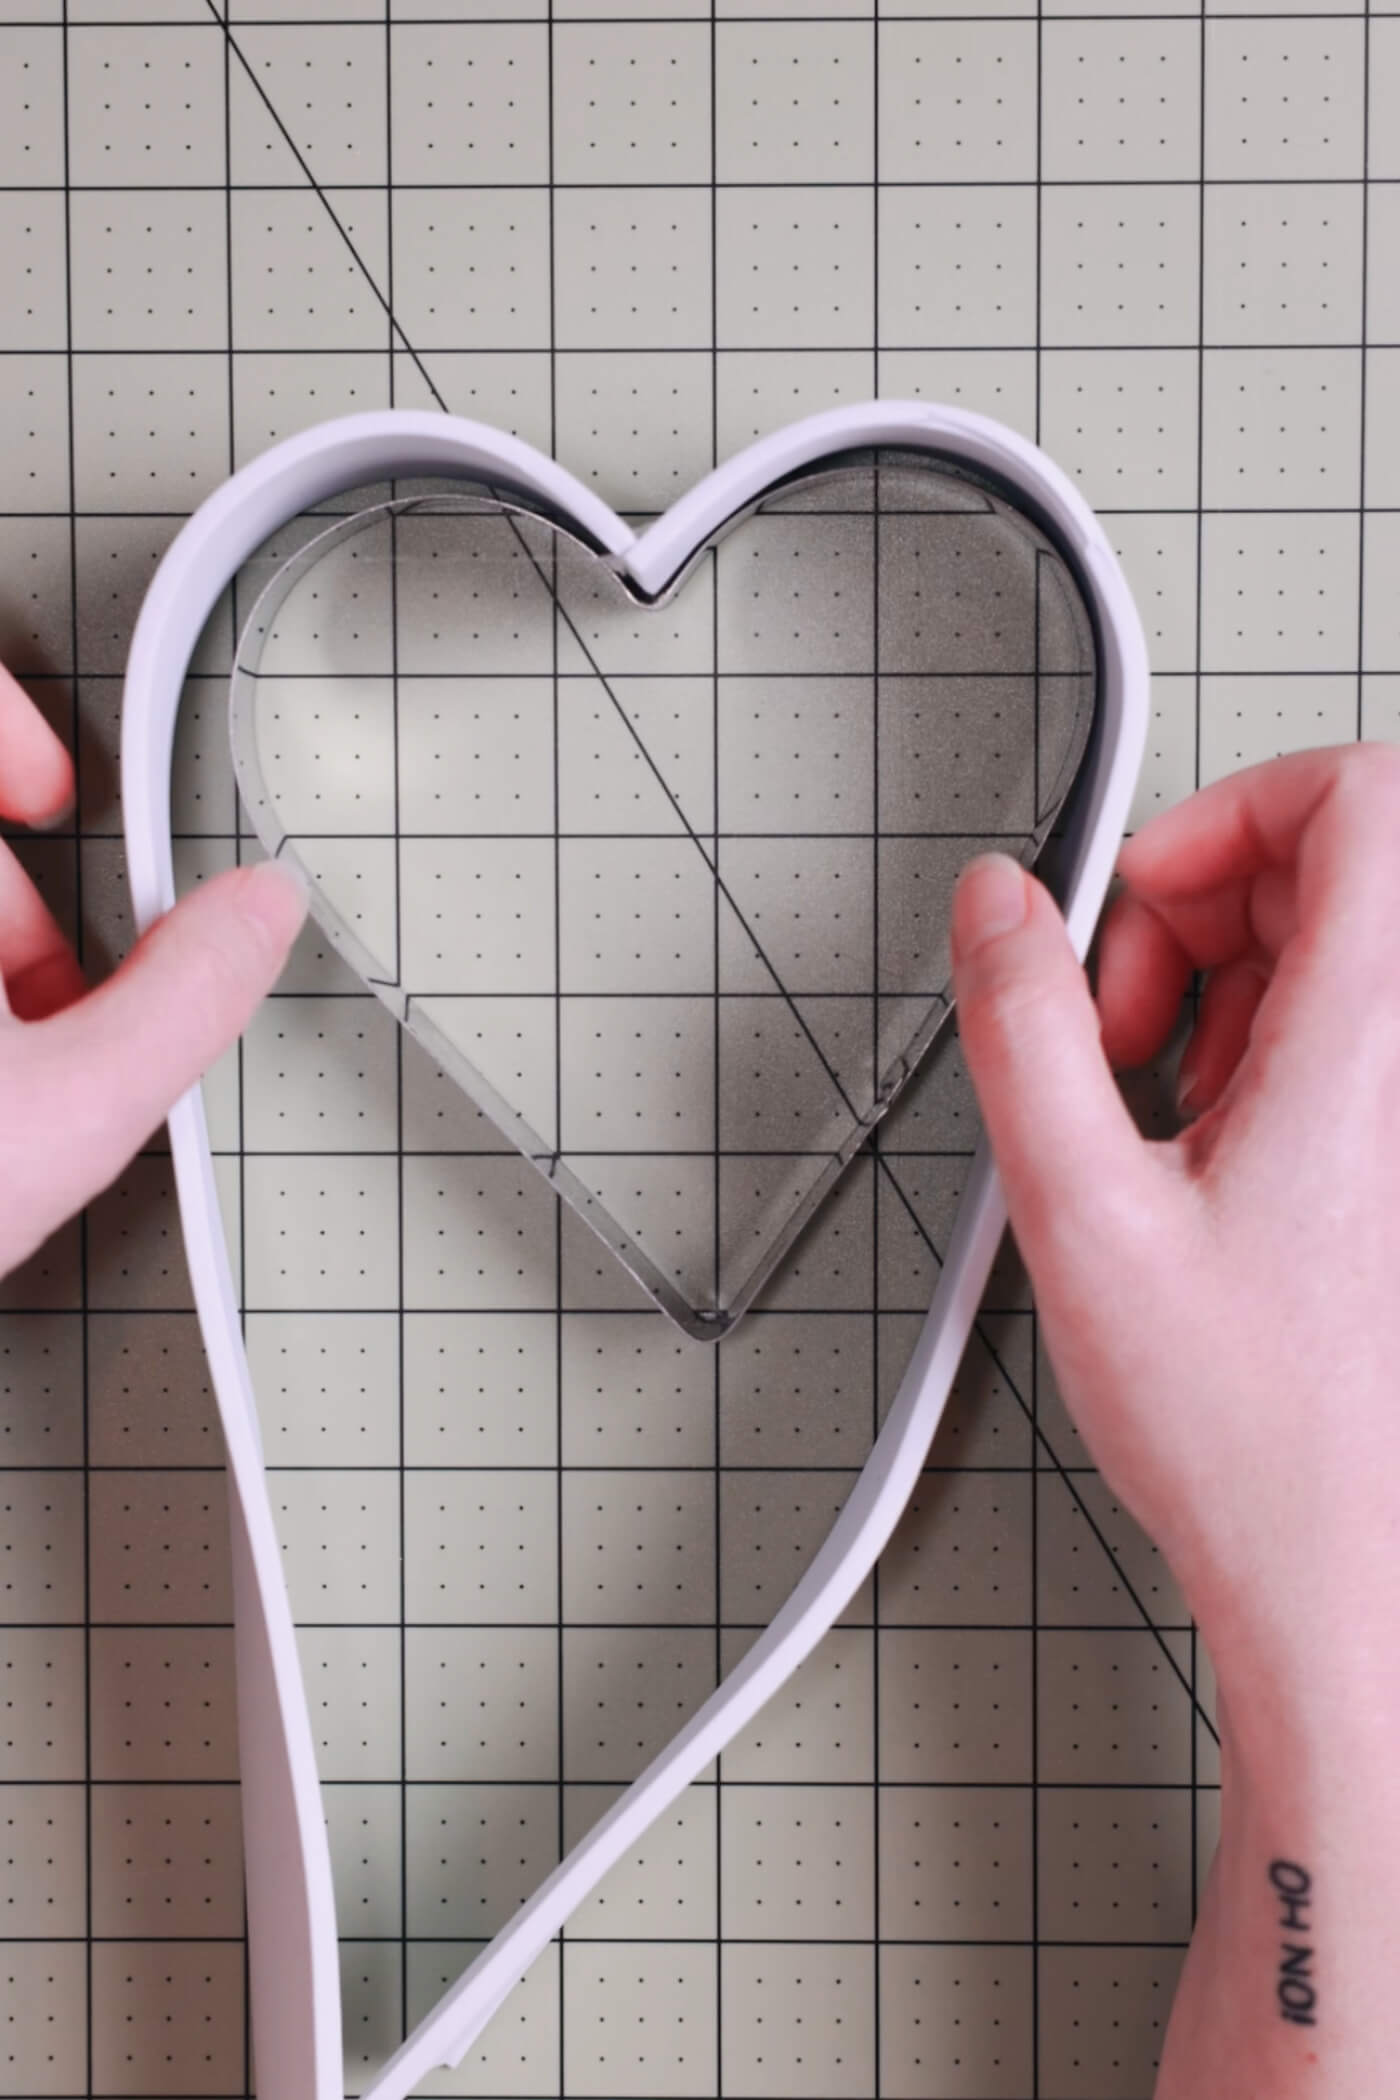
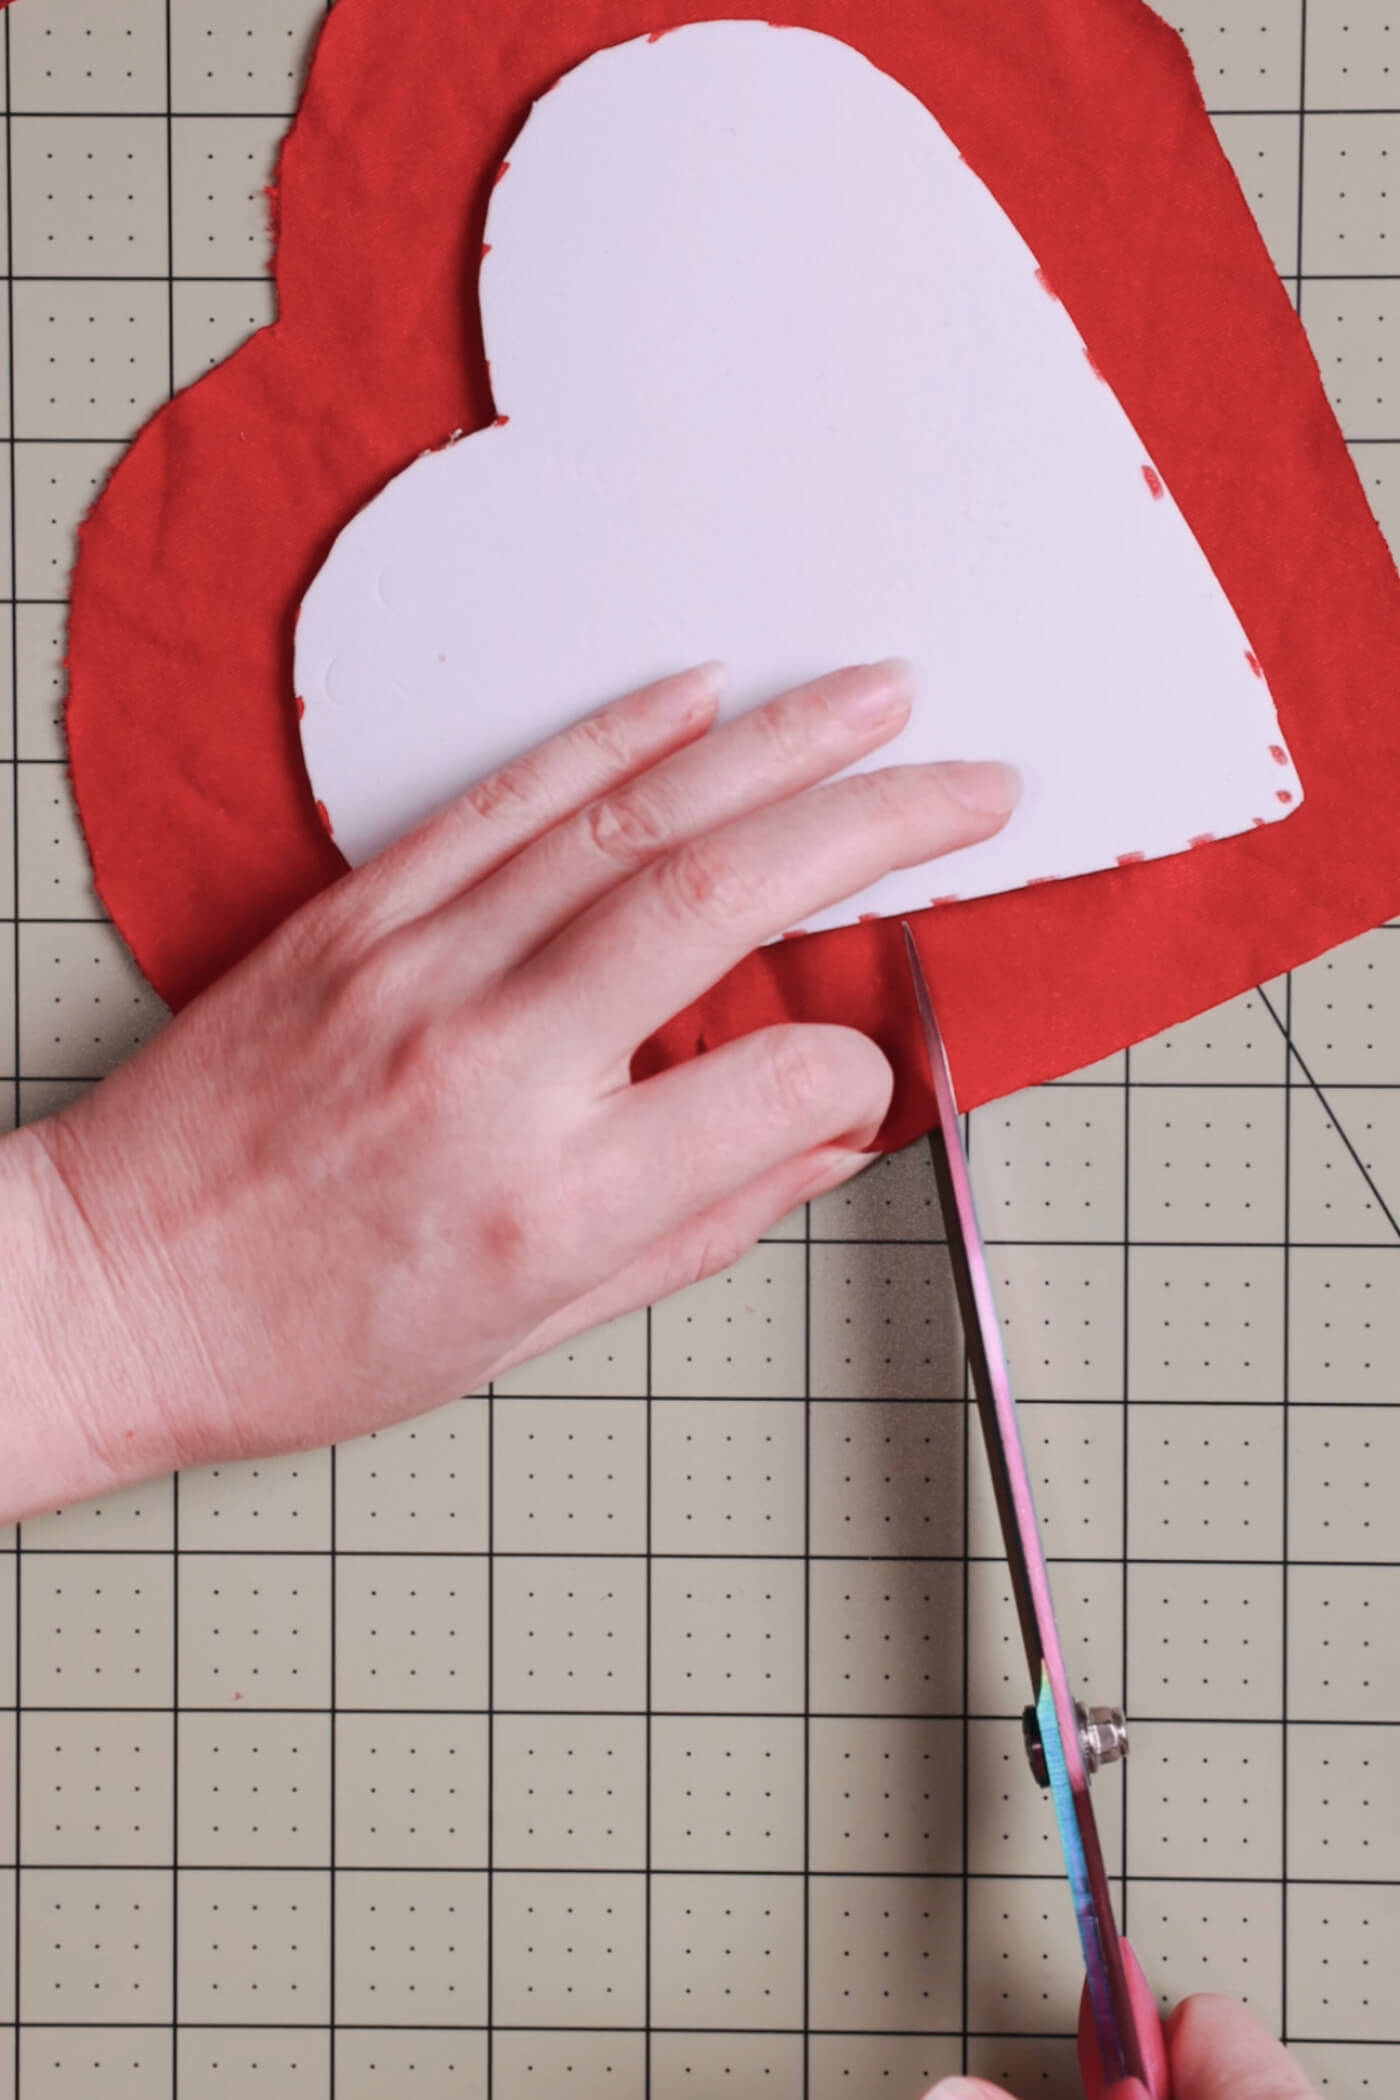
make the base
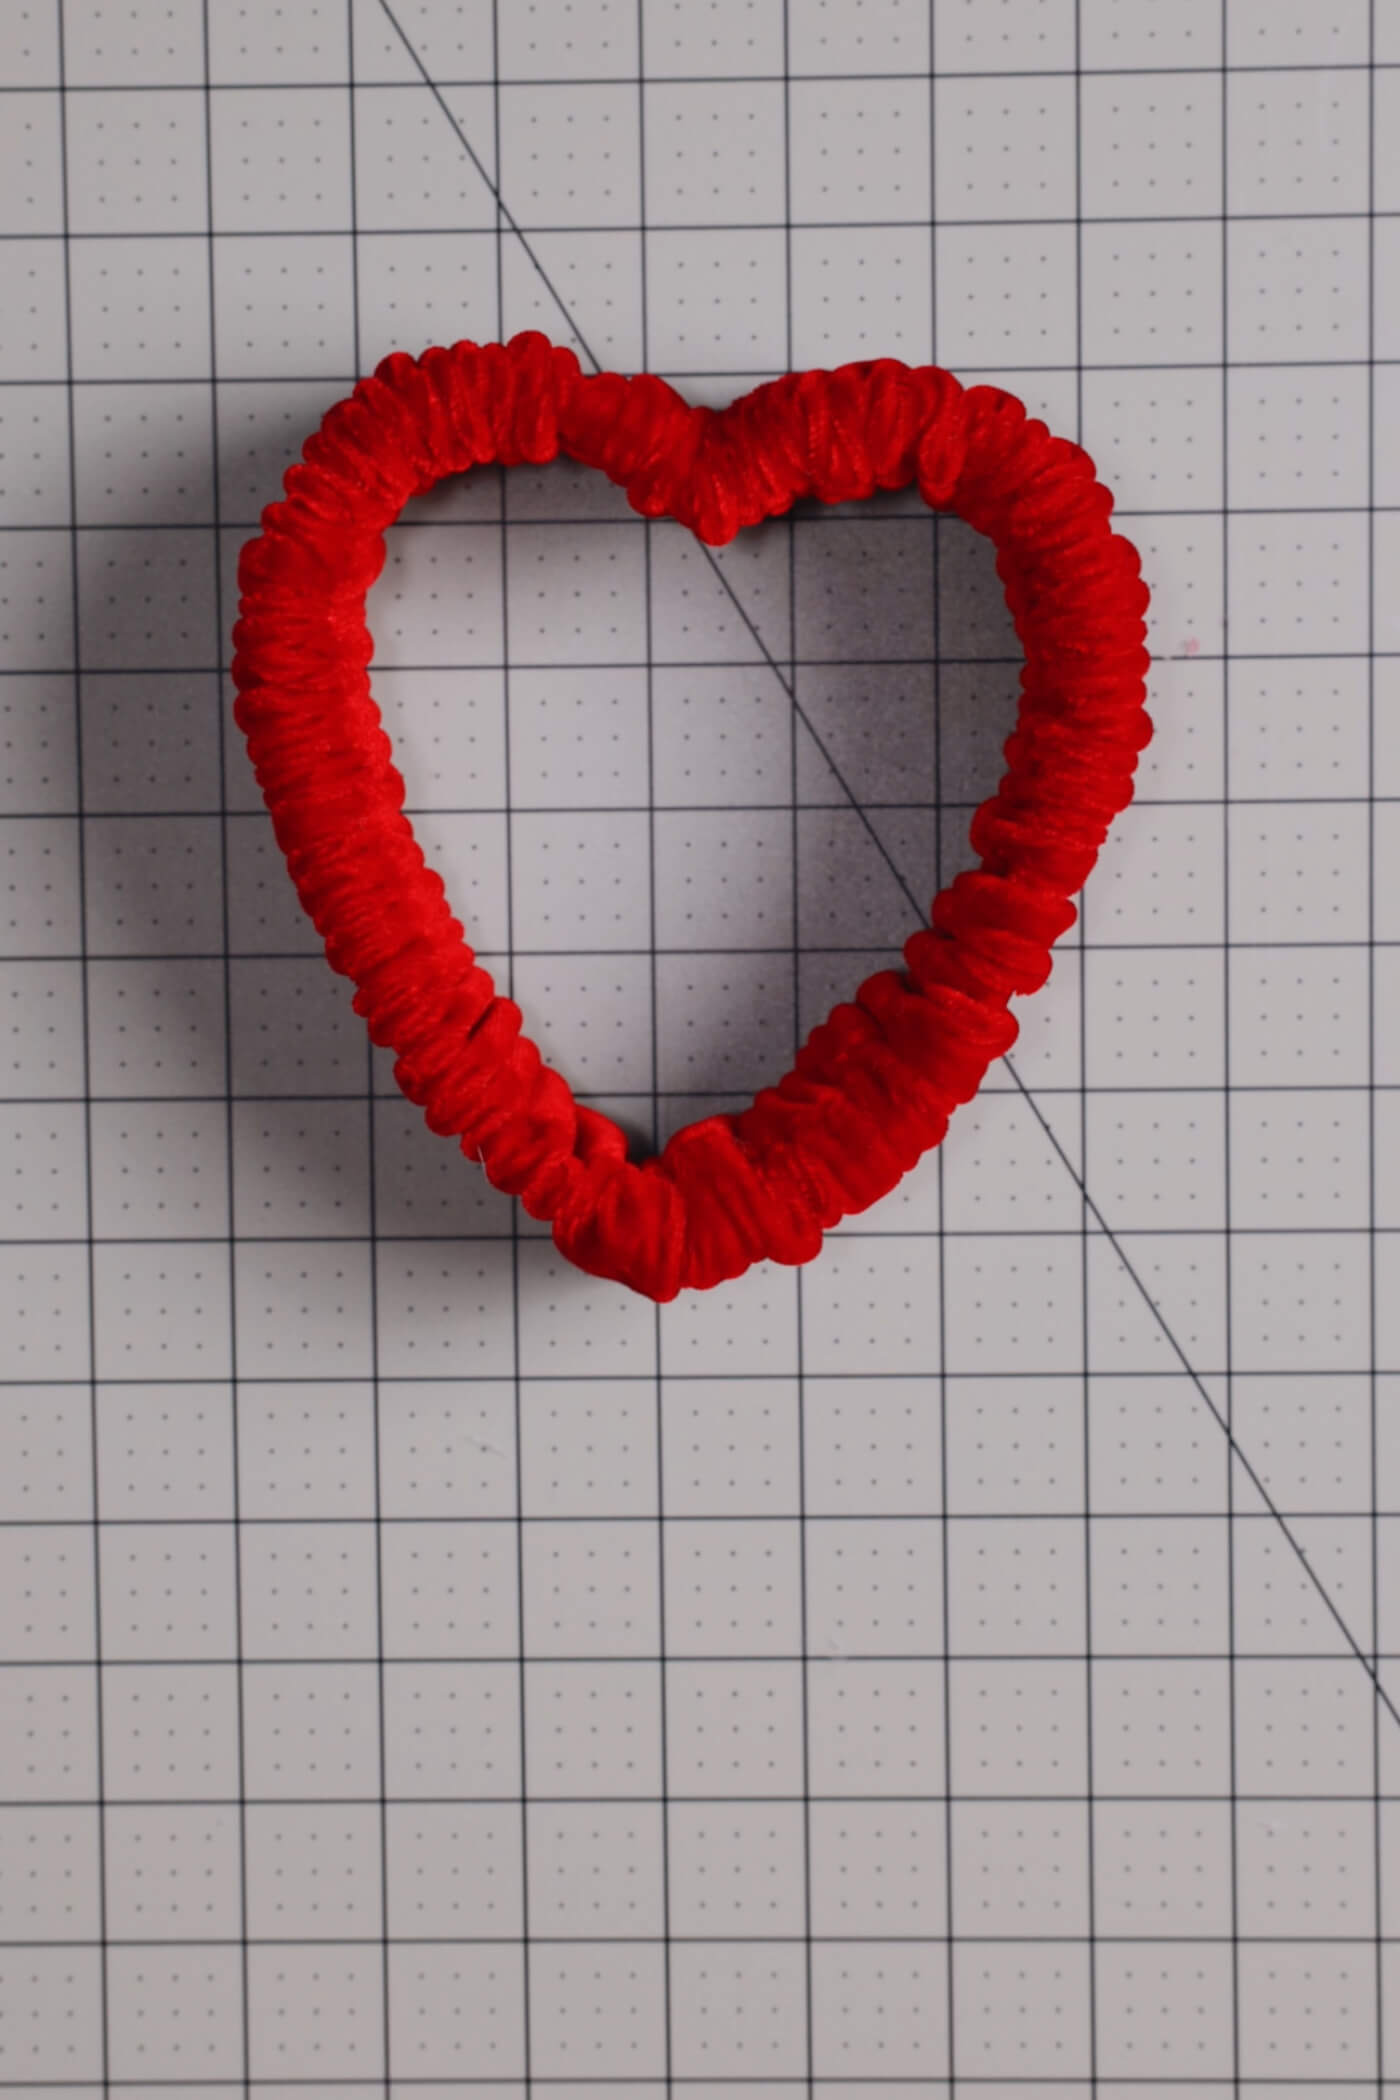
trace your heart
come on
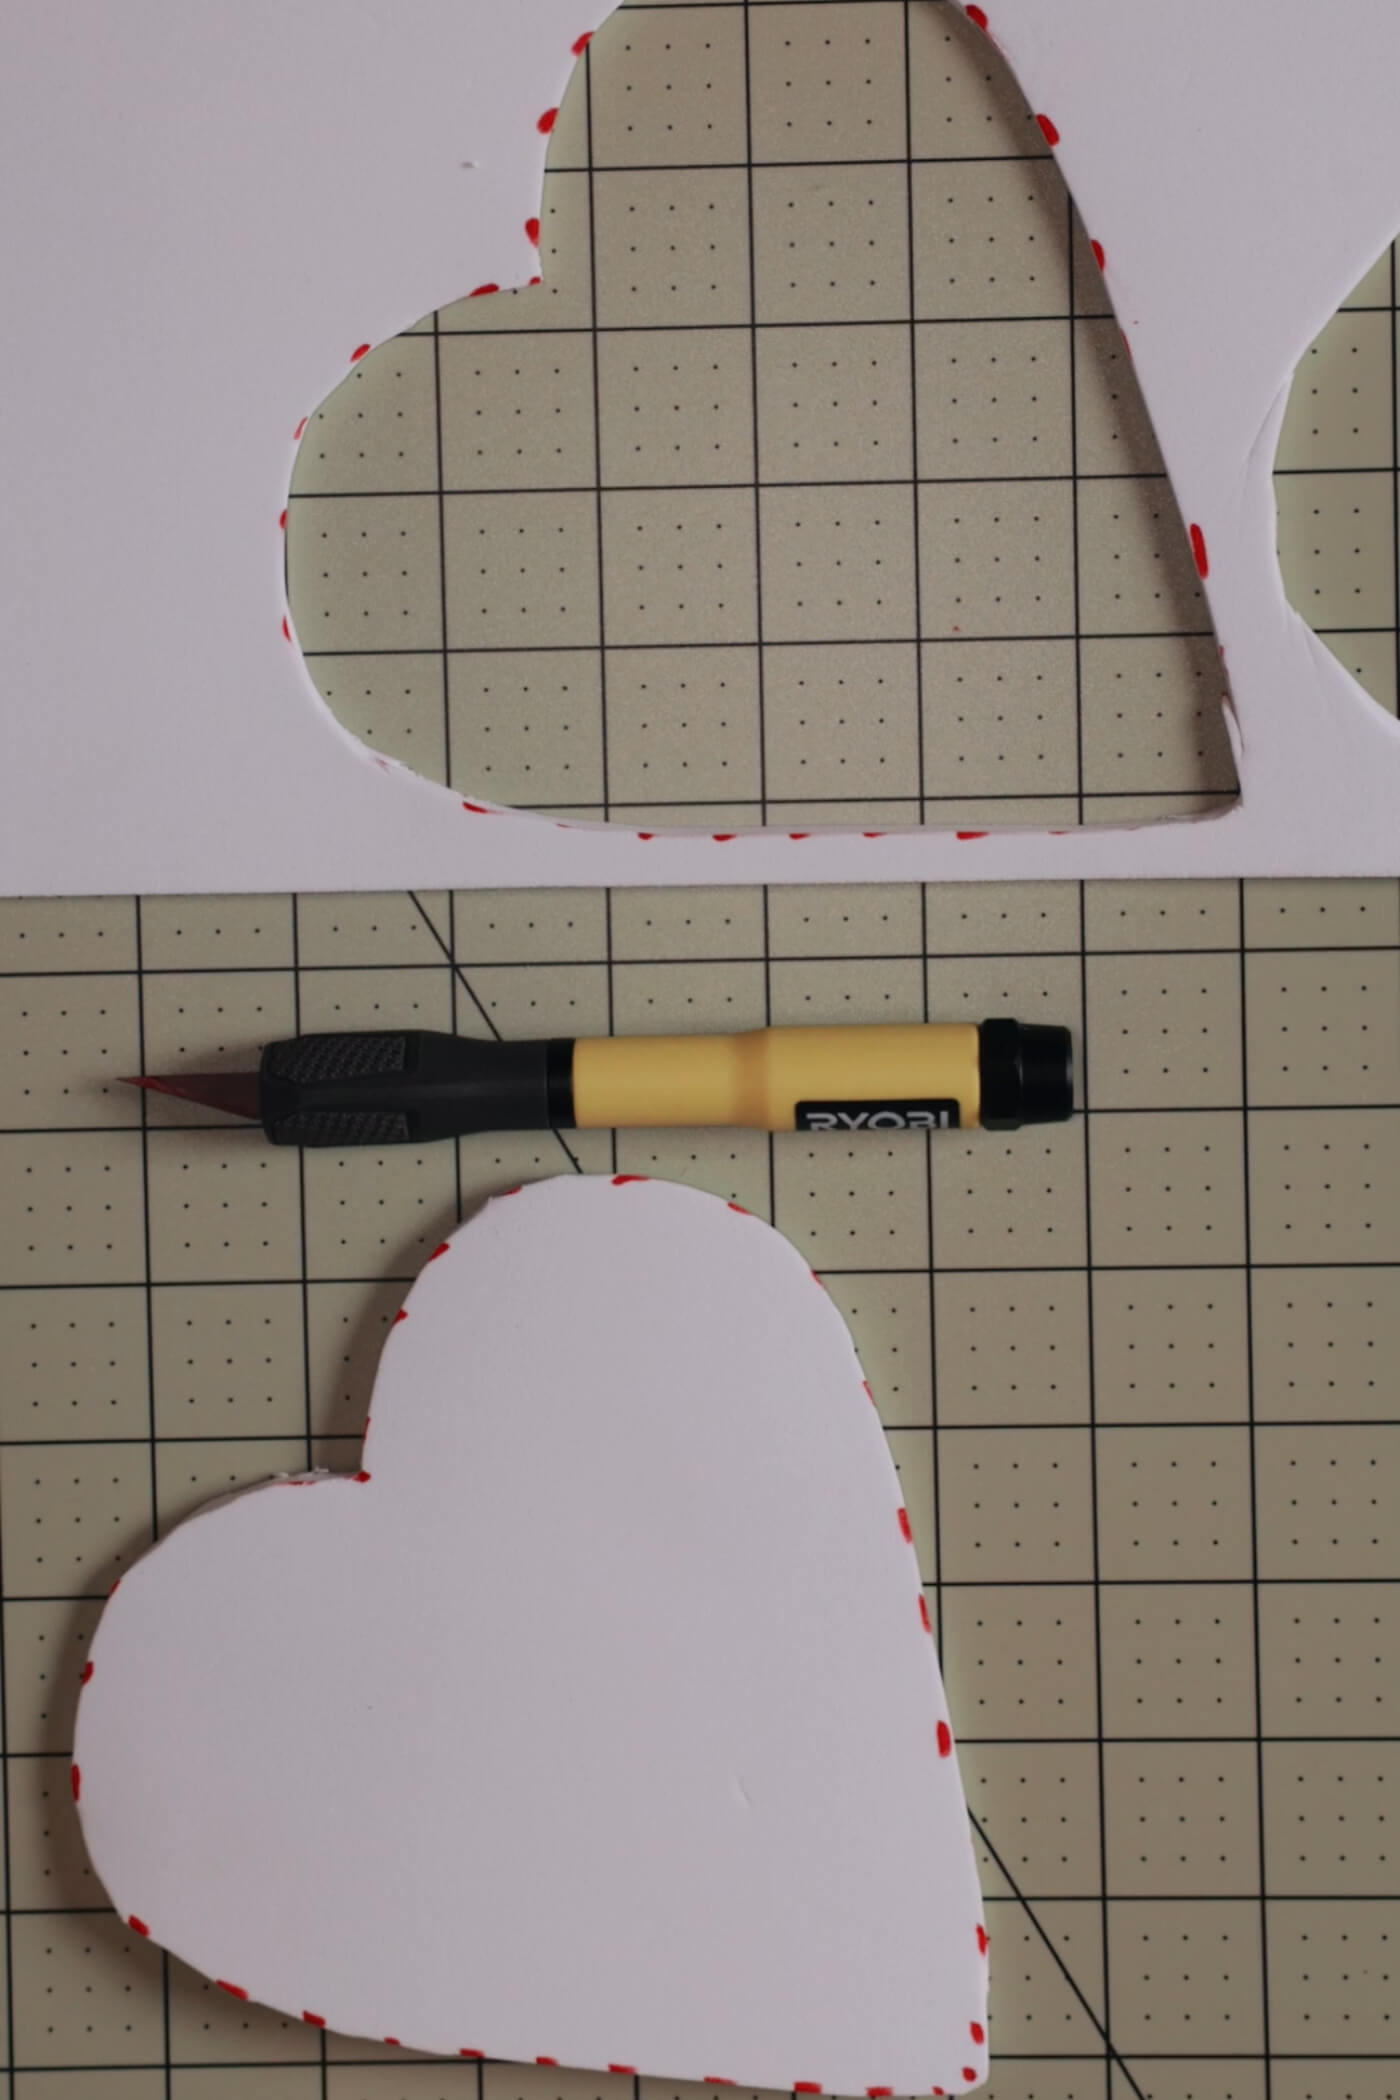
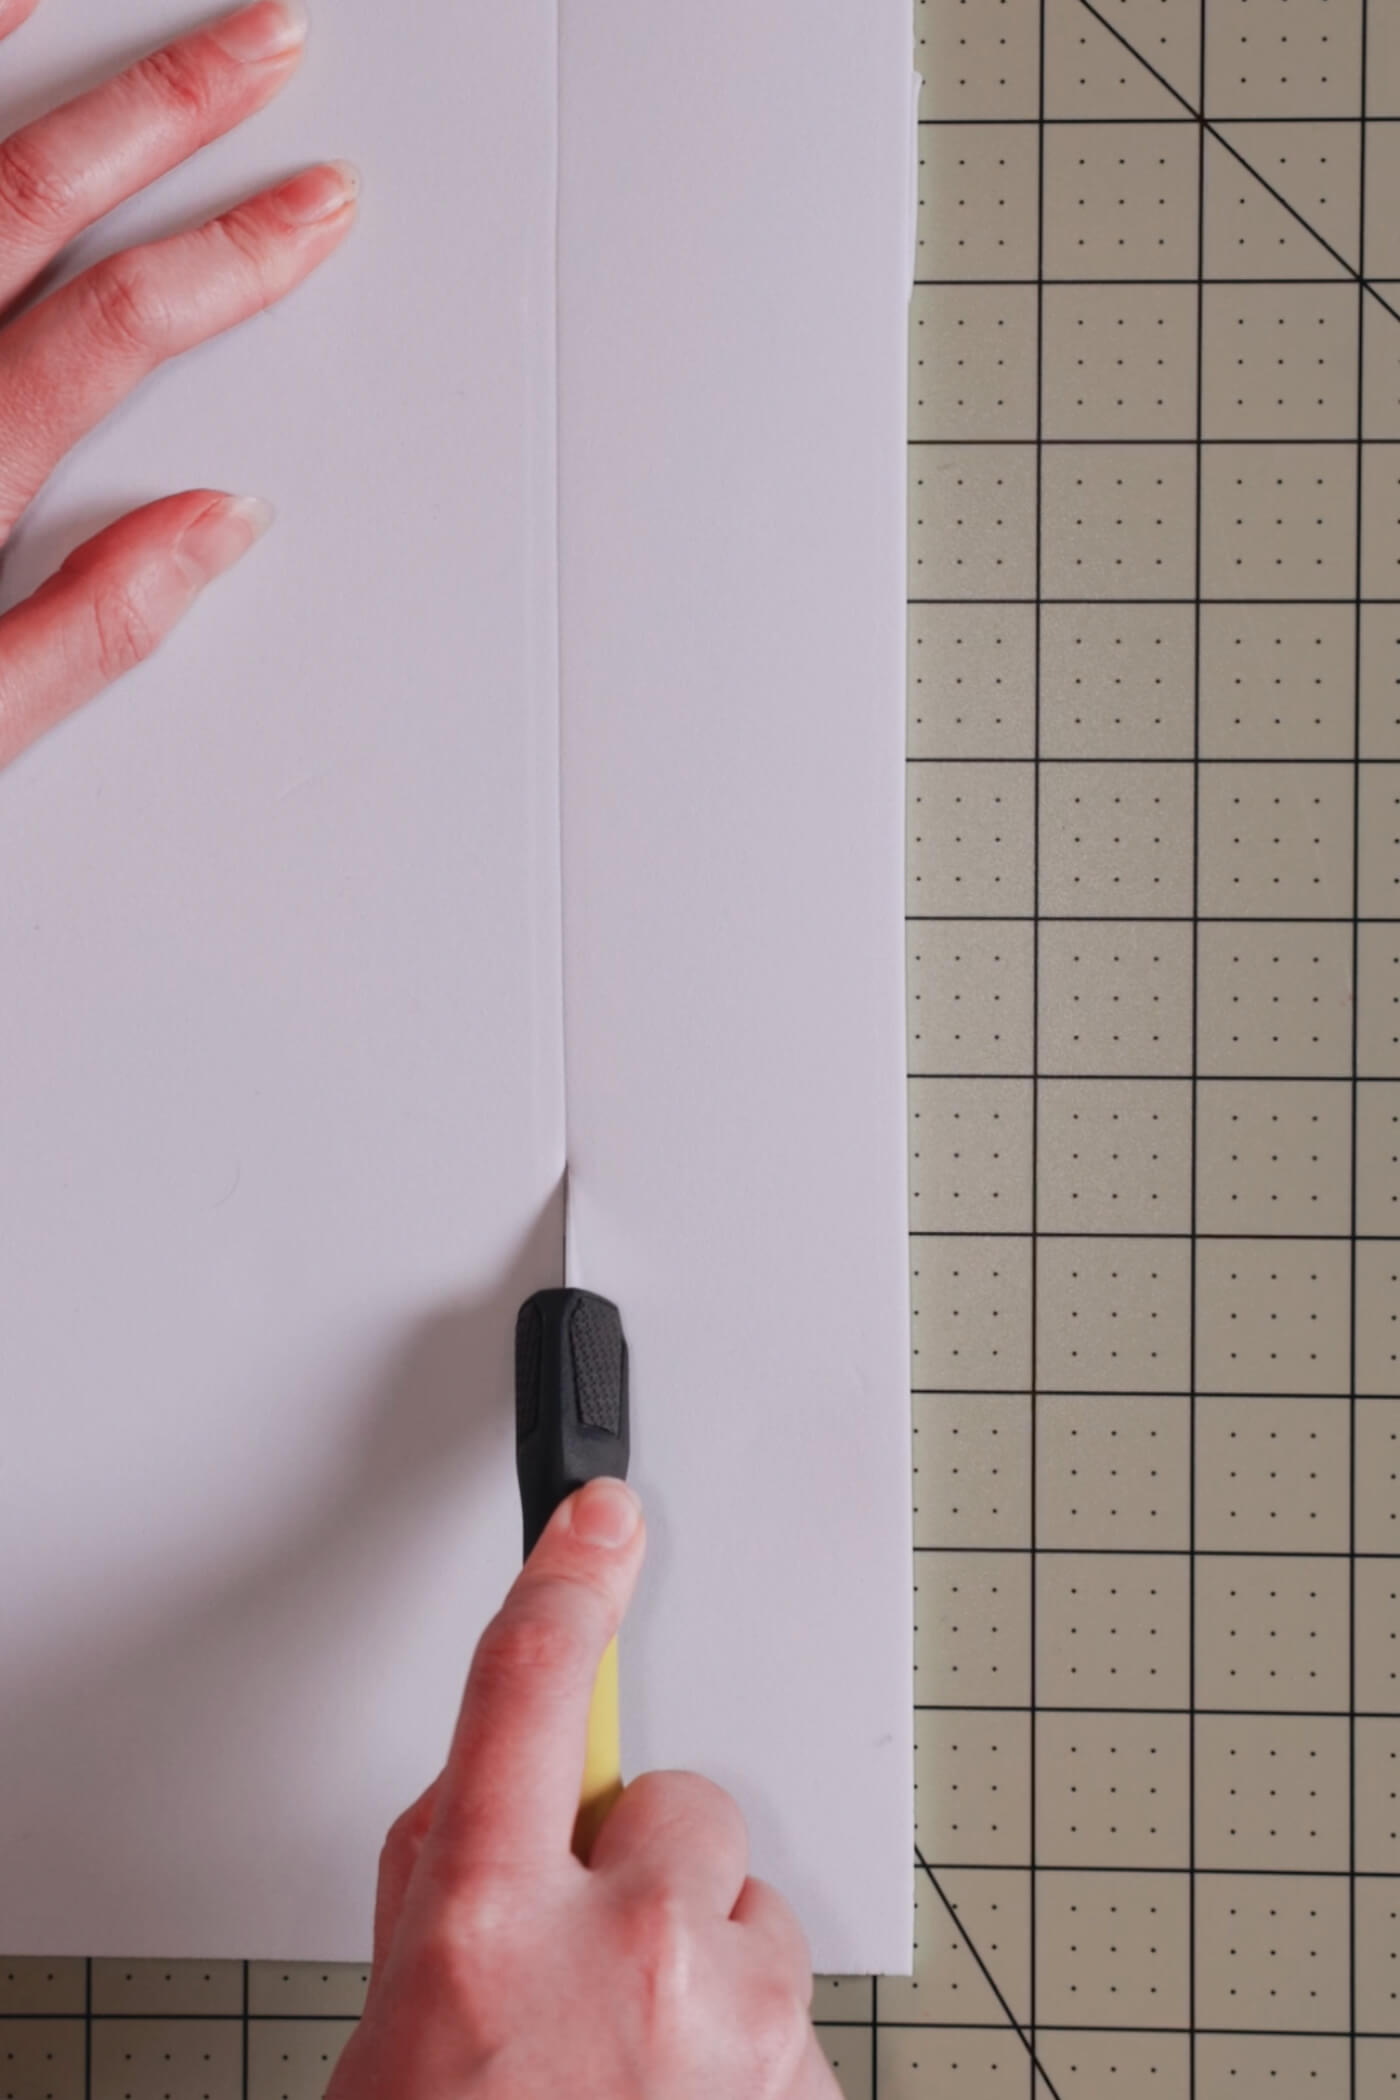
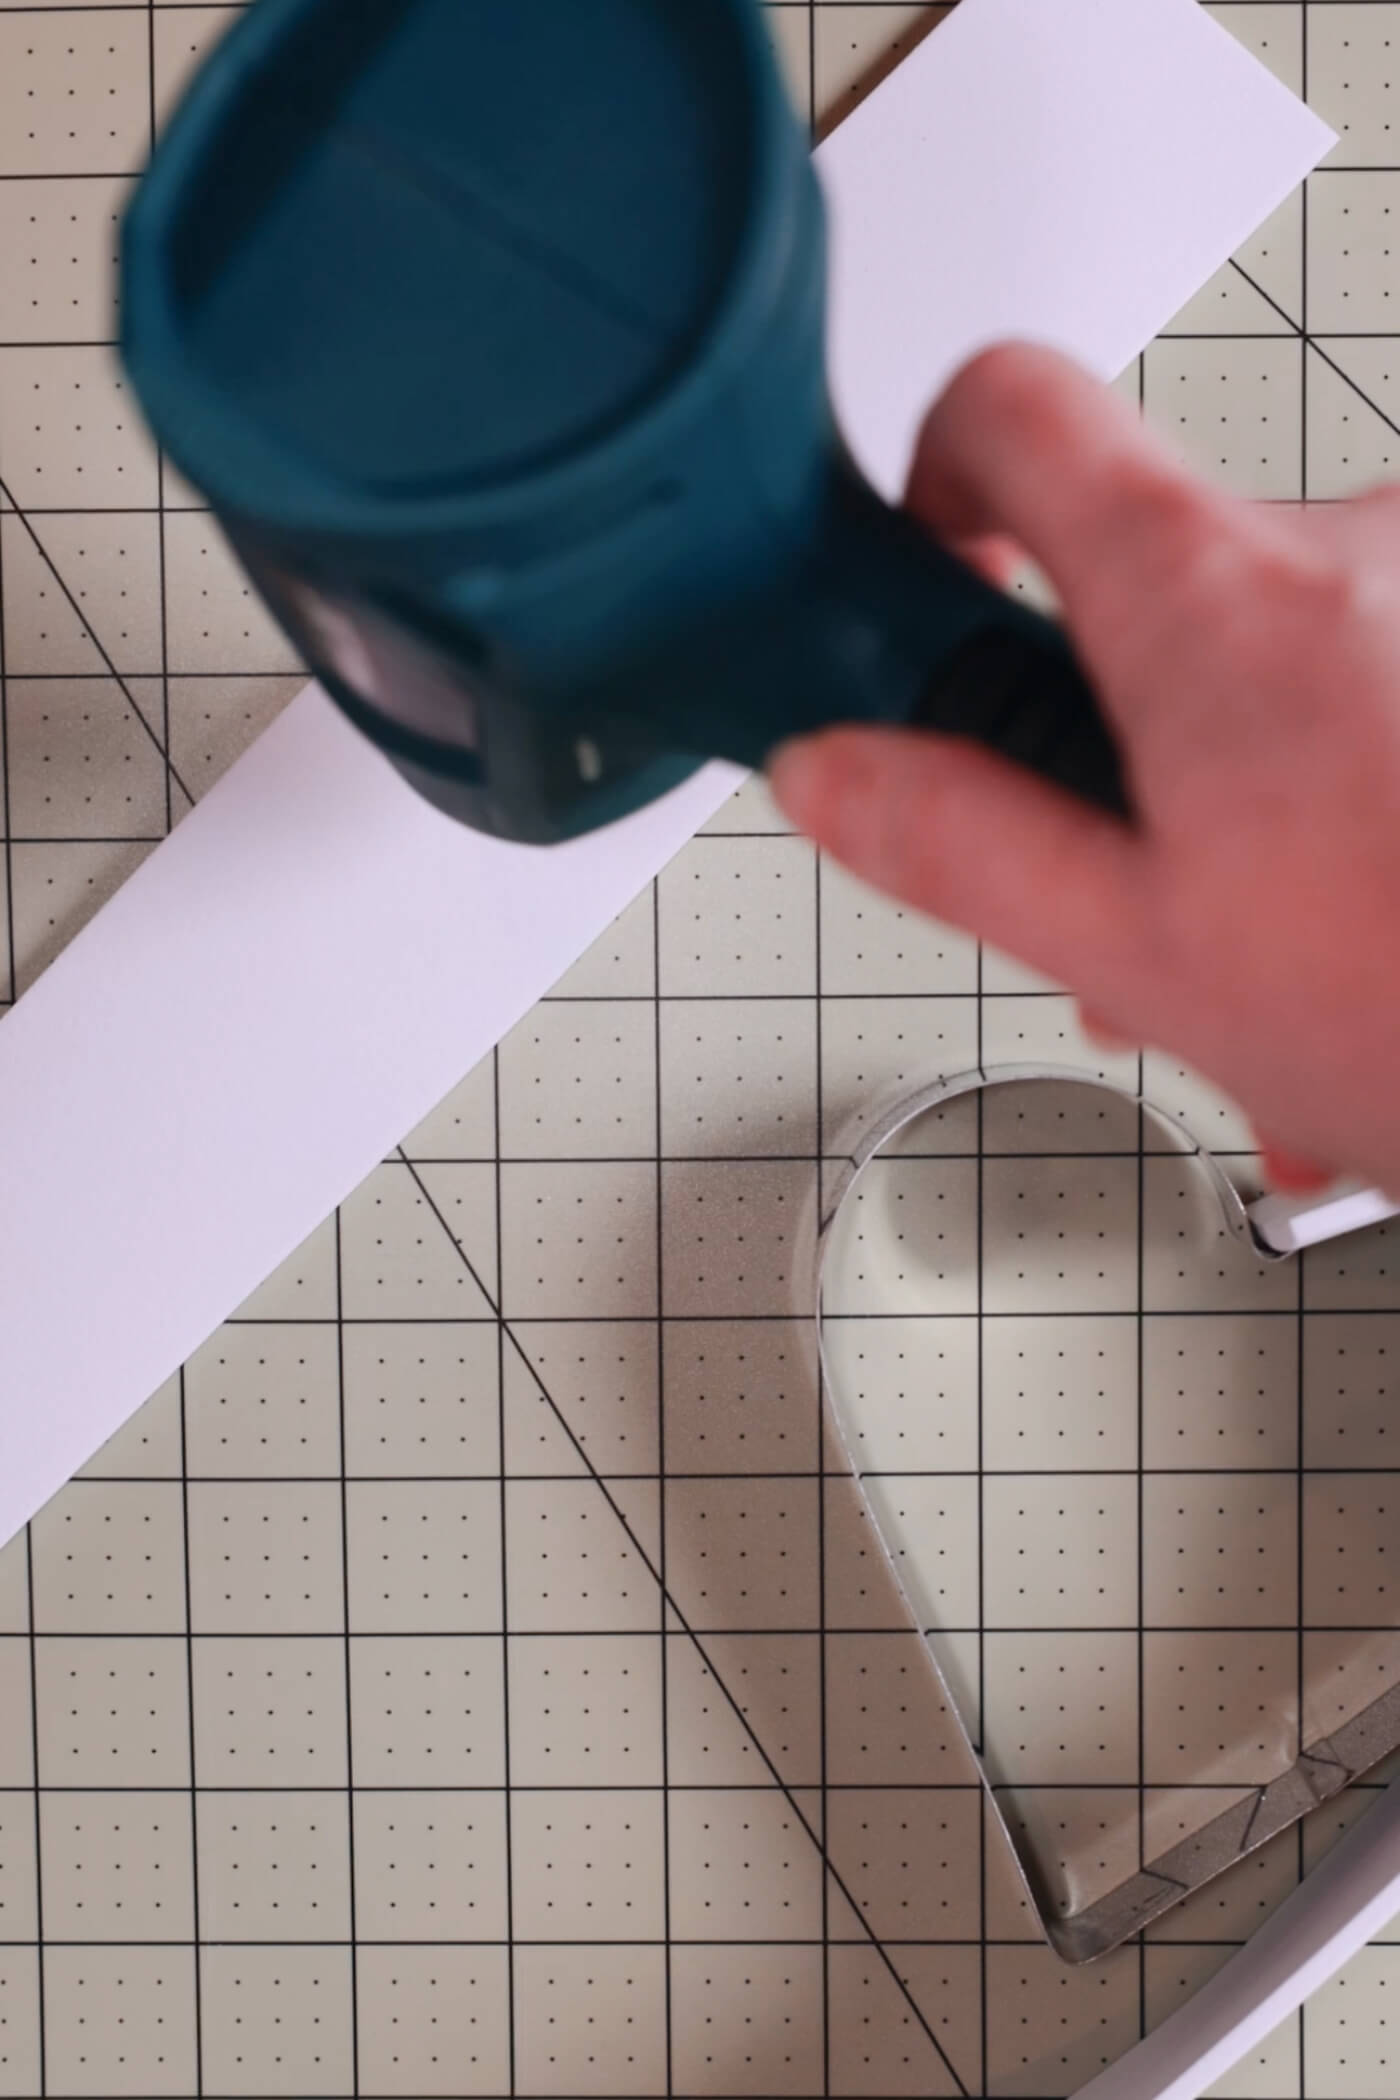
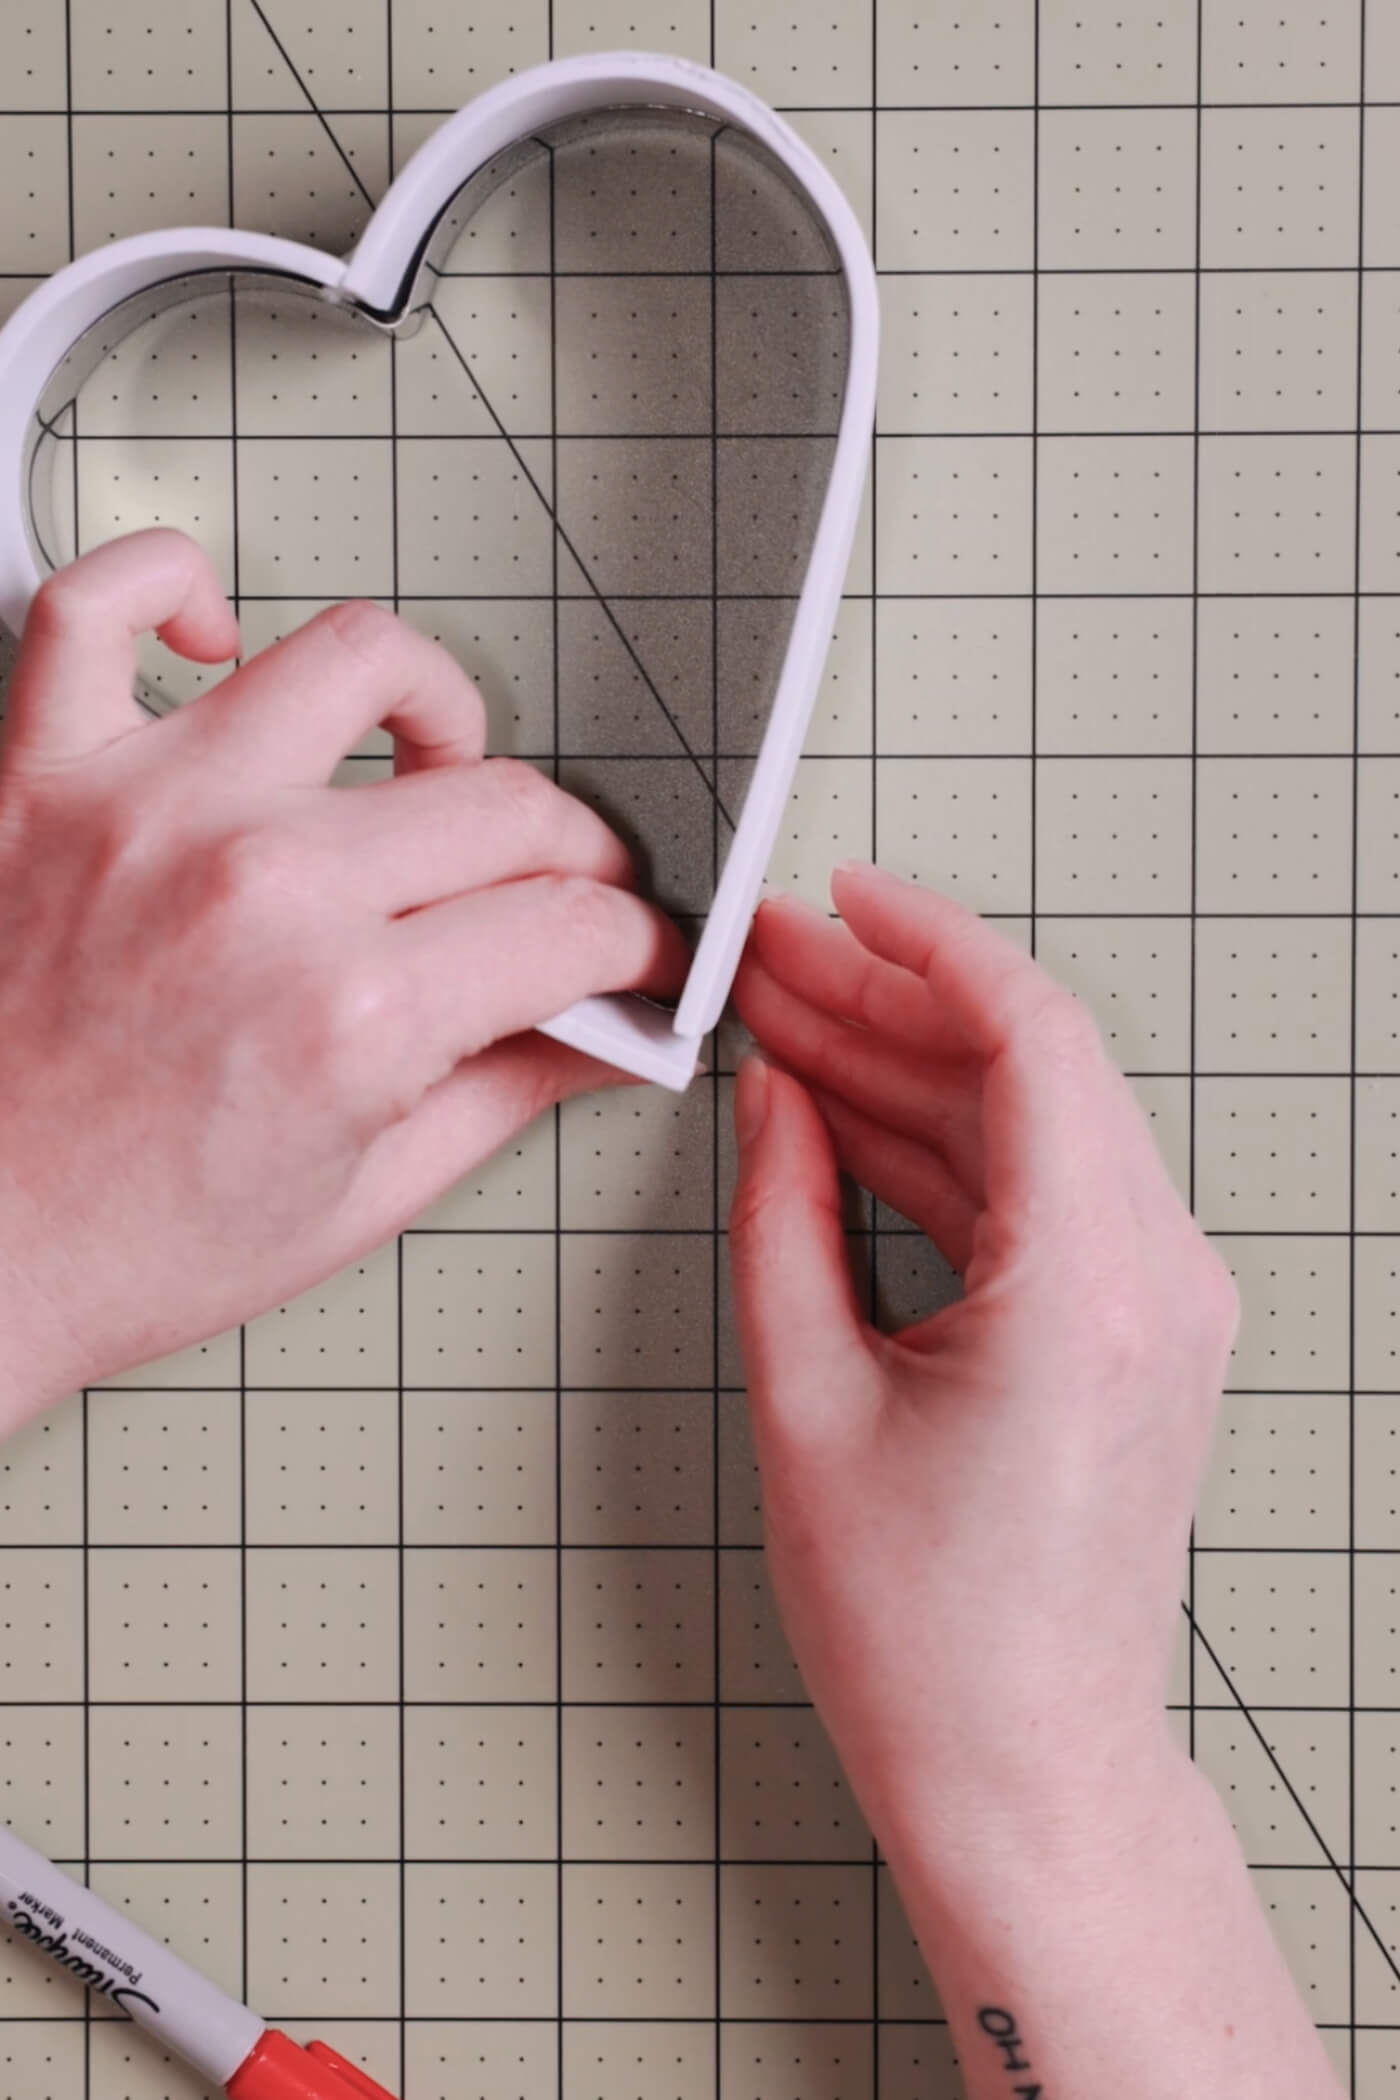
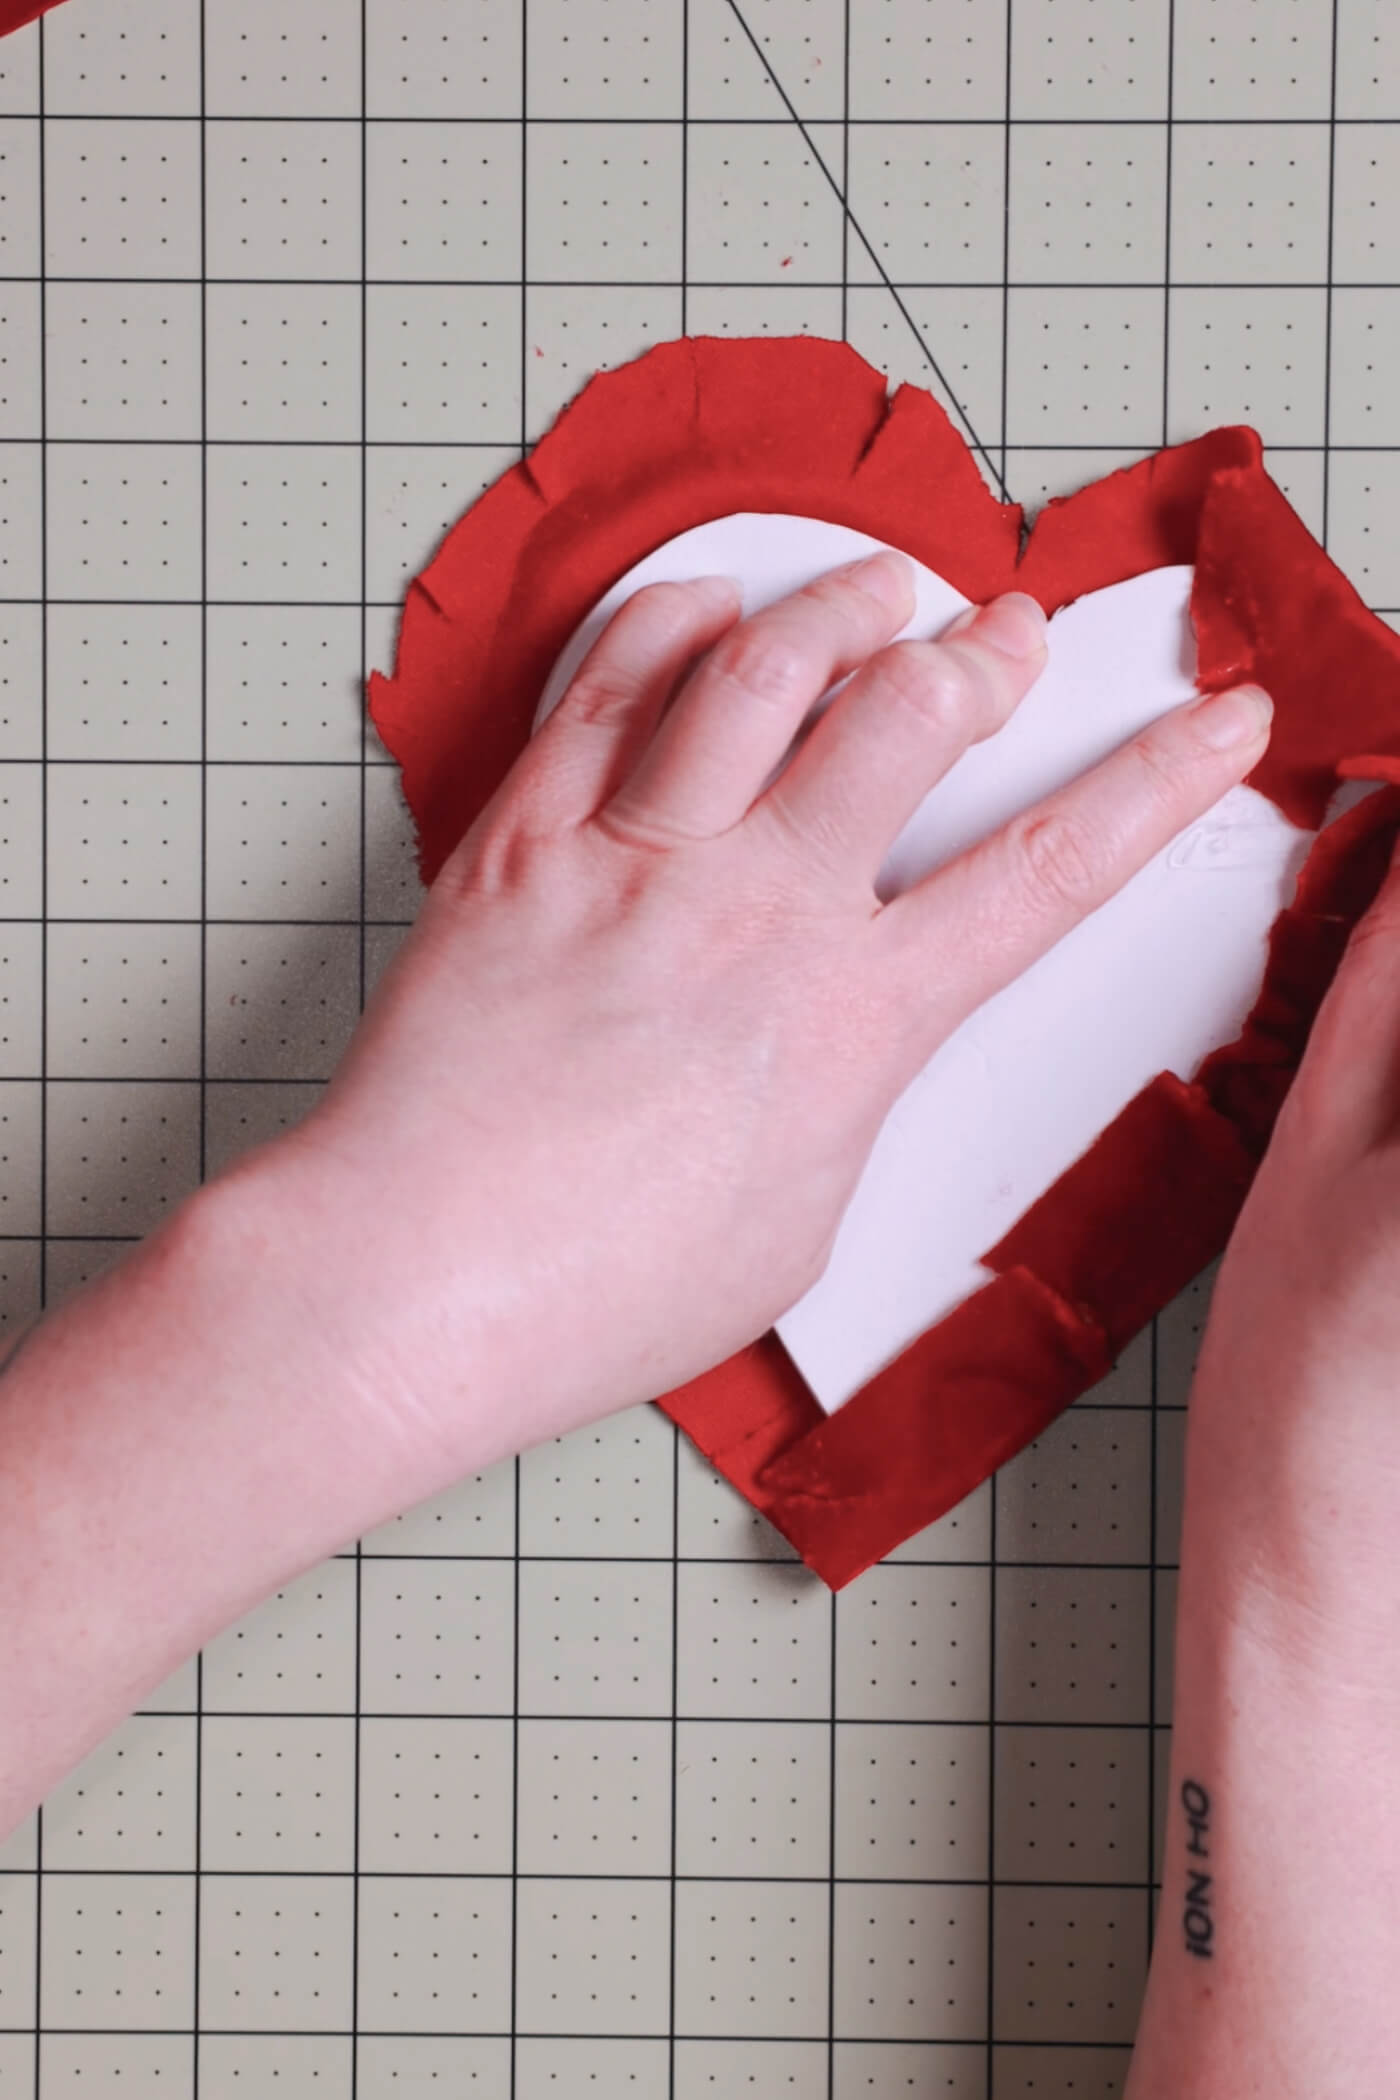
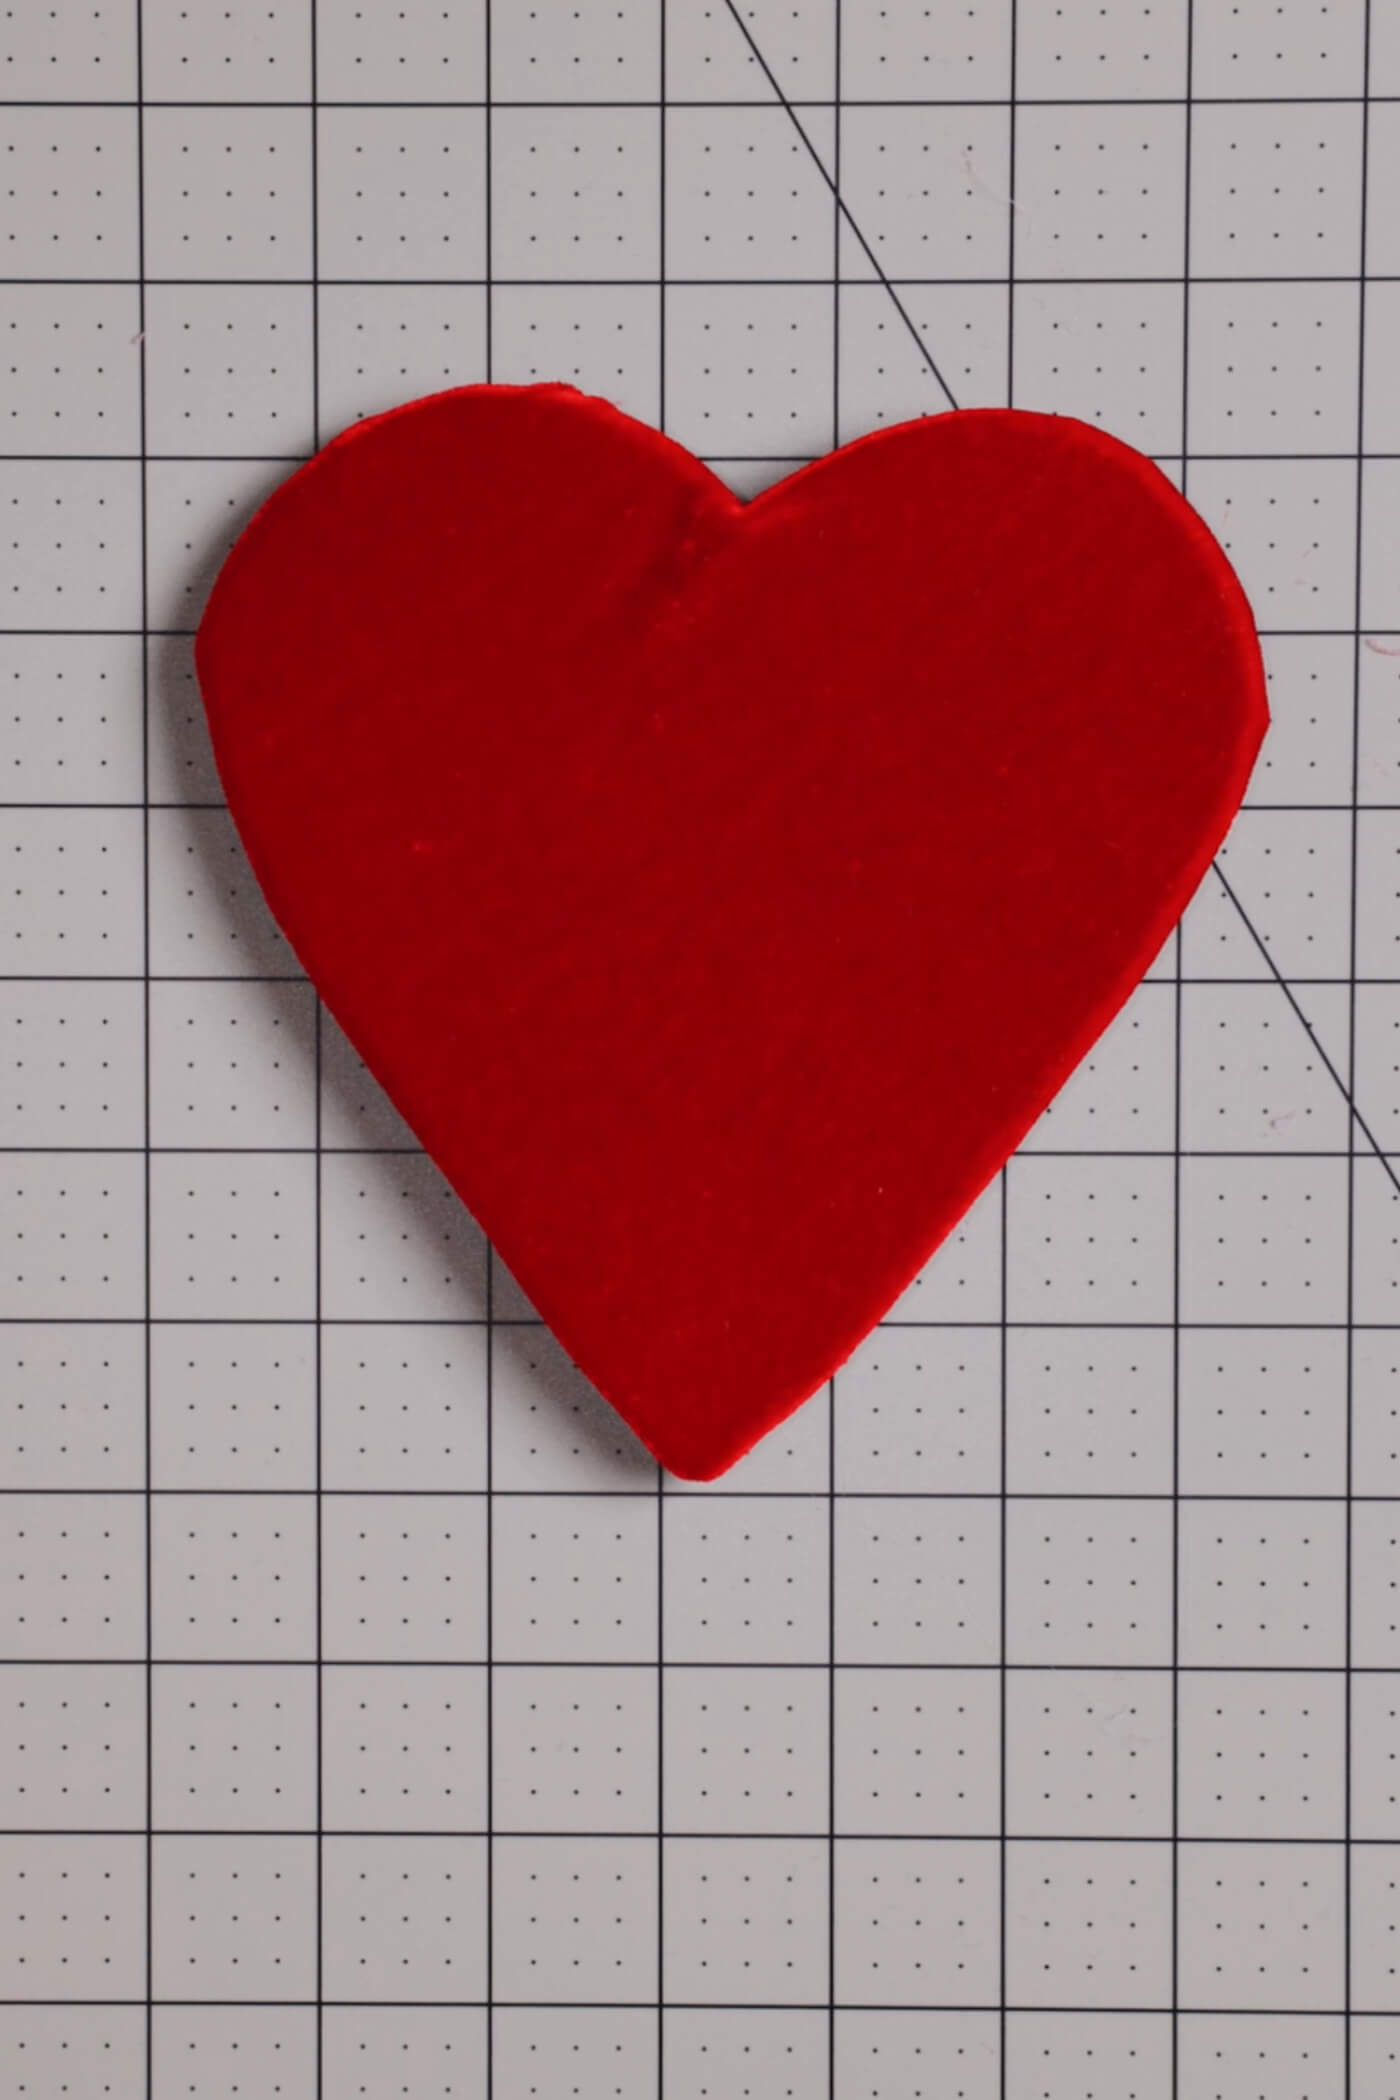
form the base

Glue the center
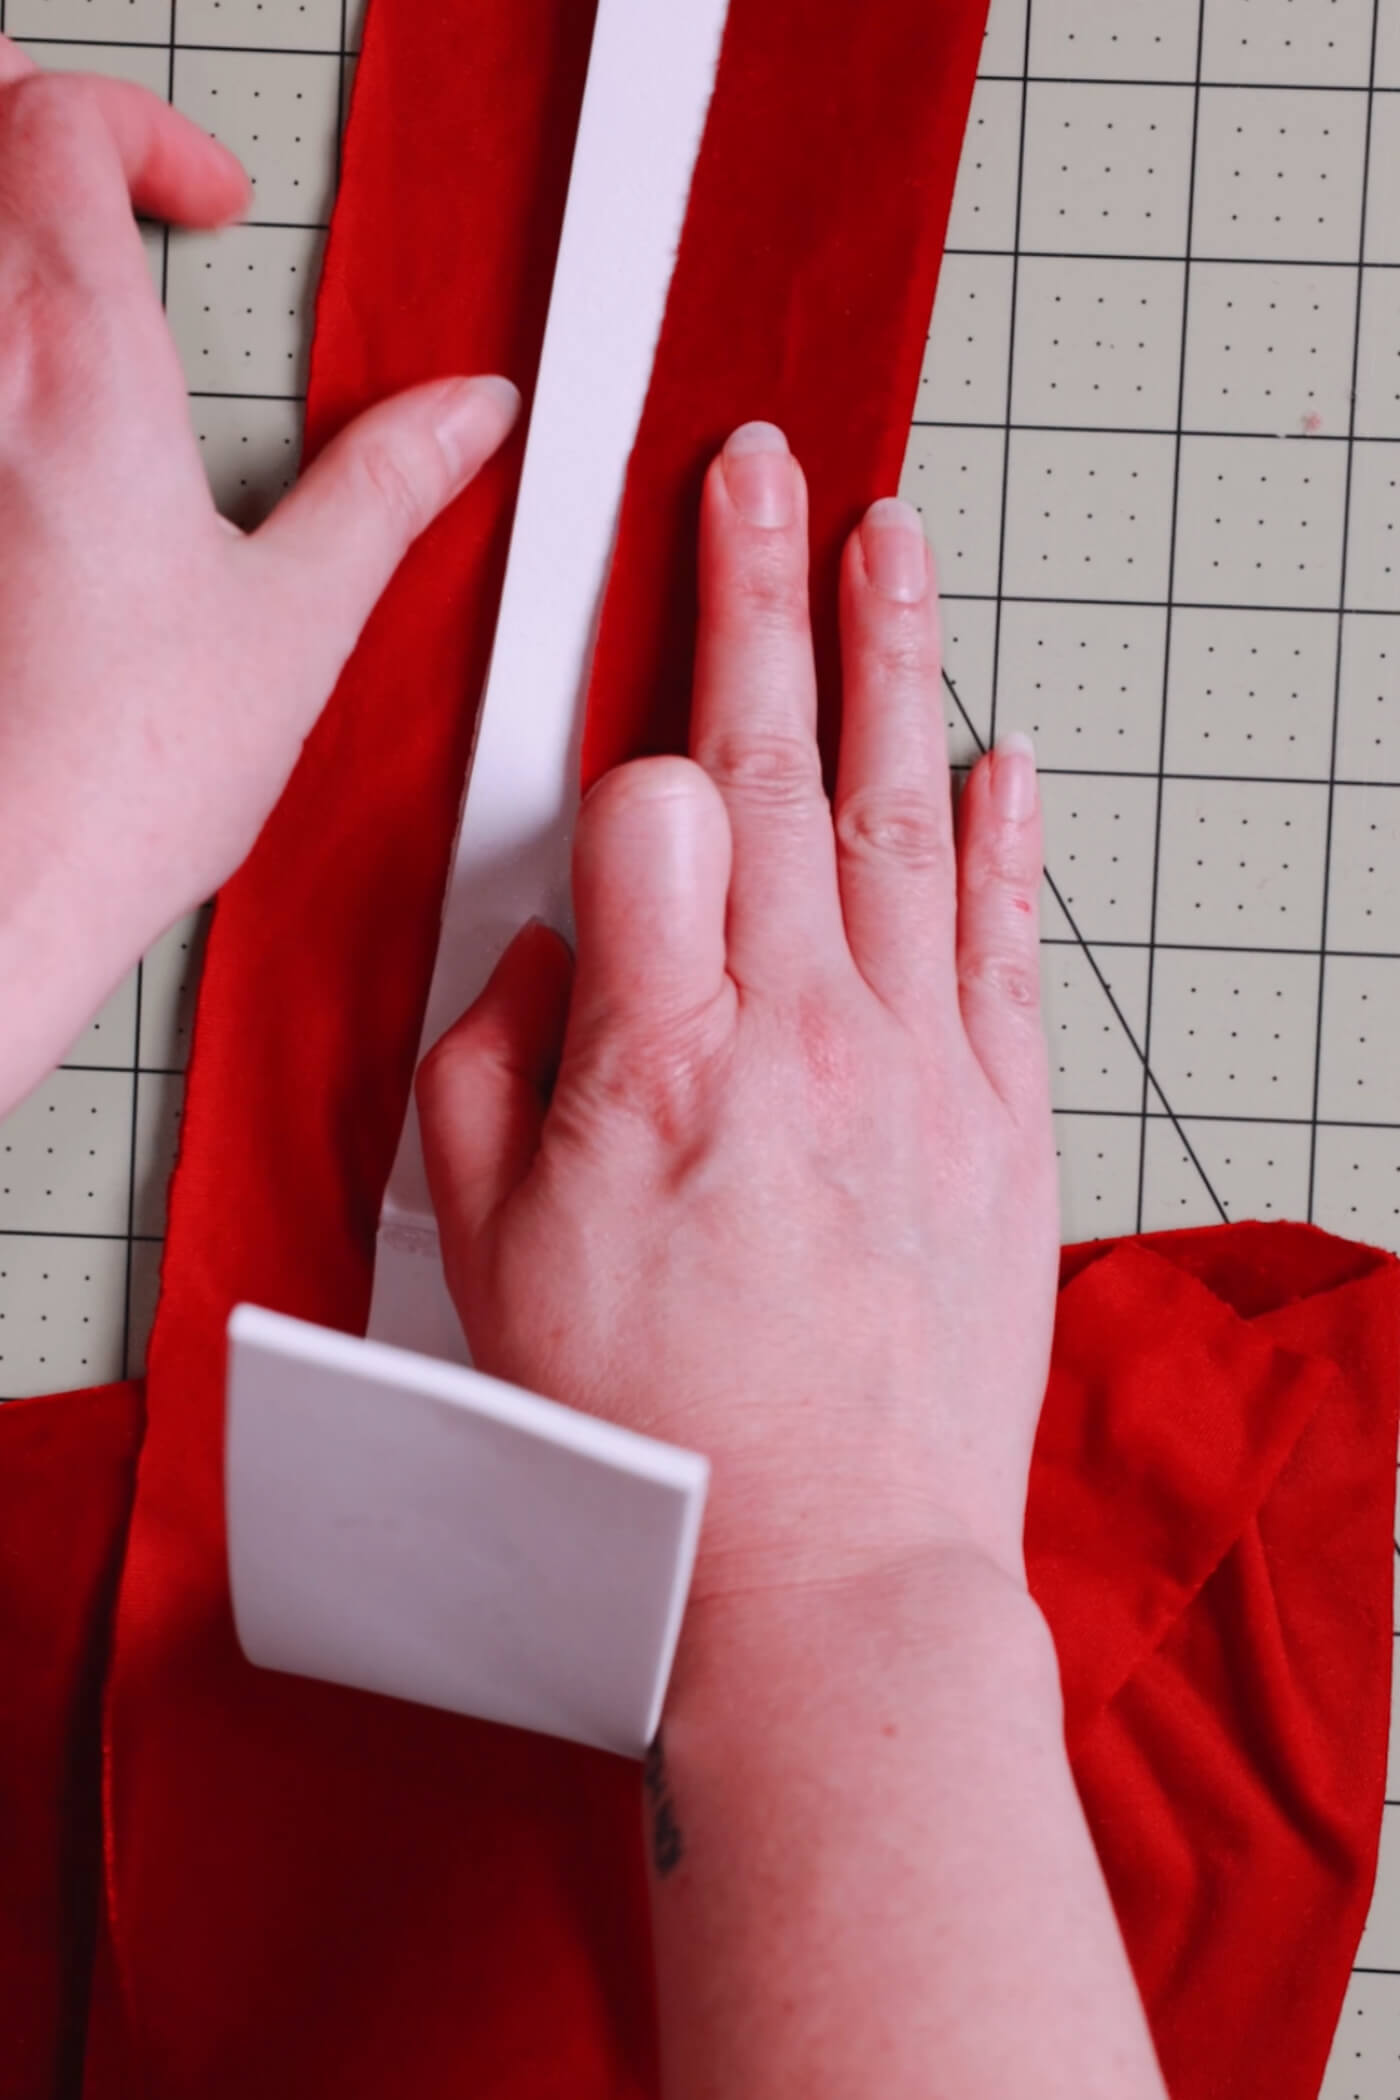
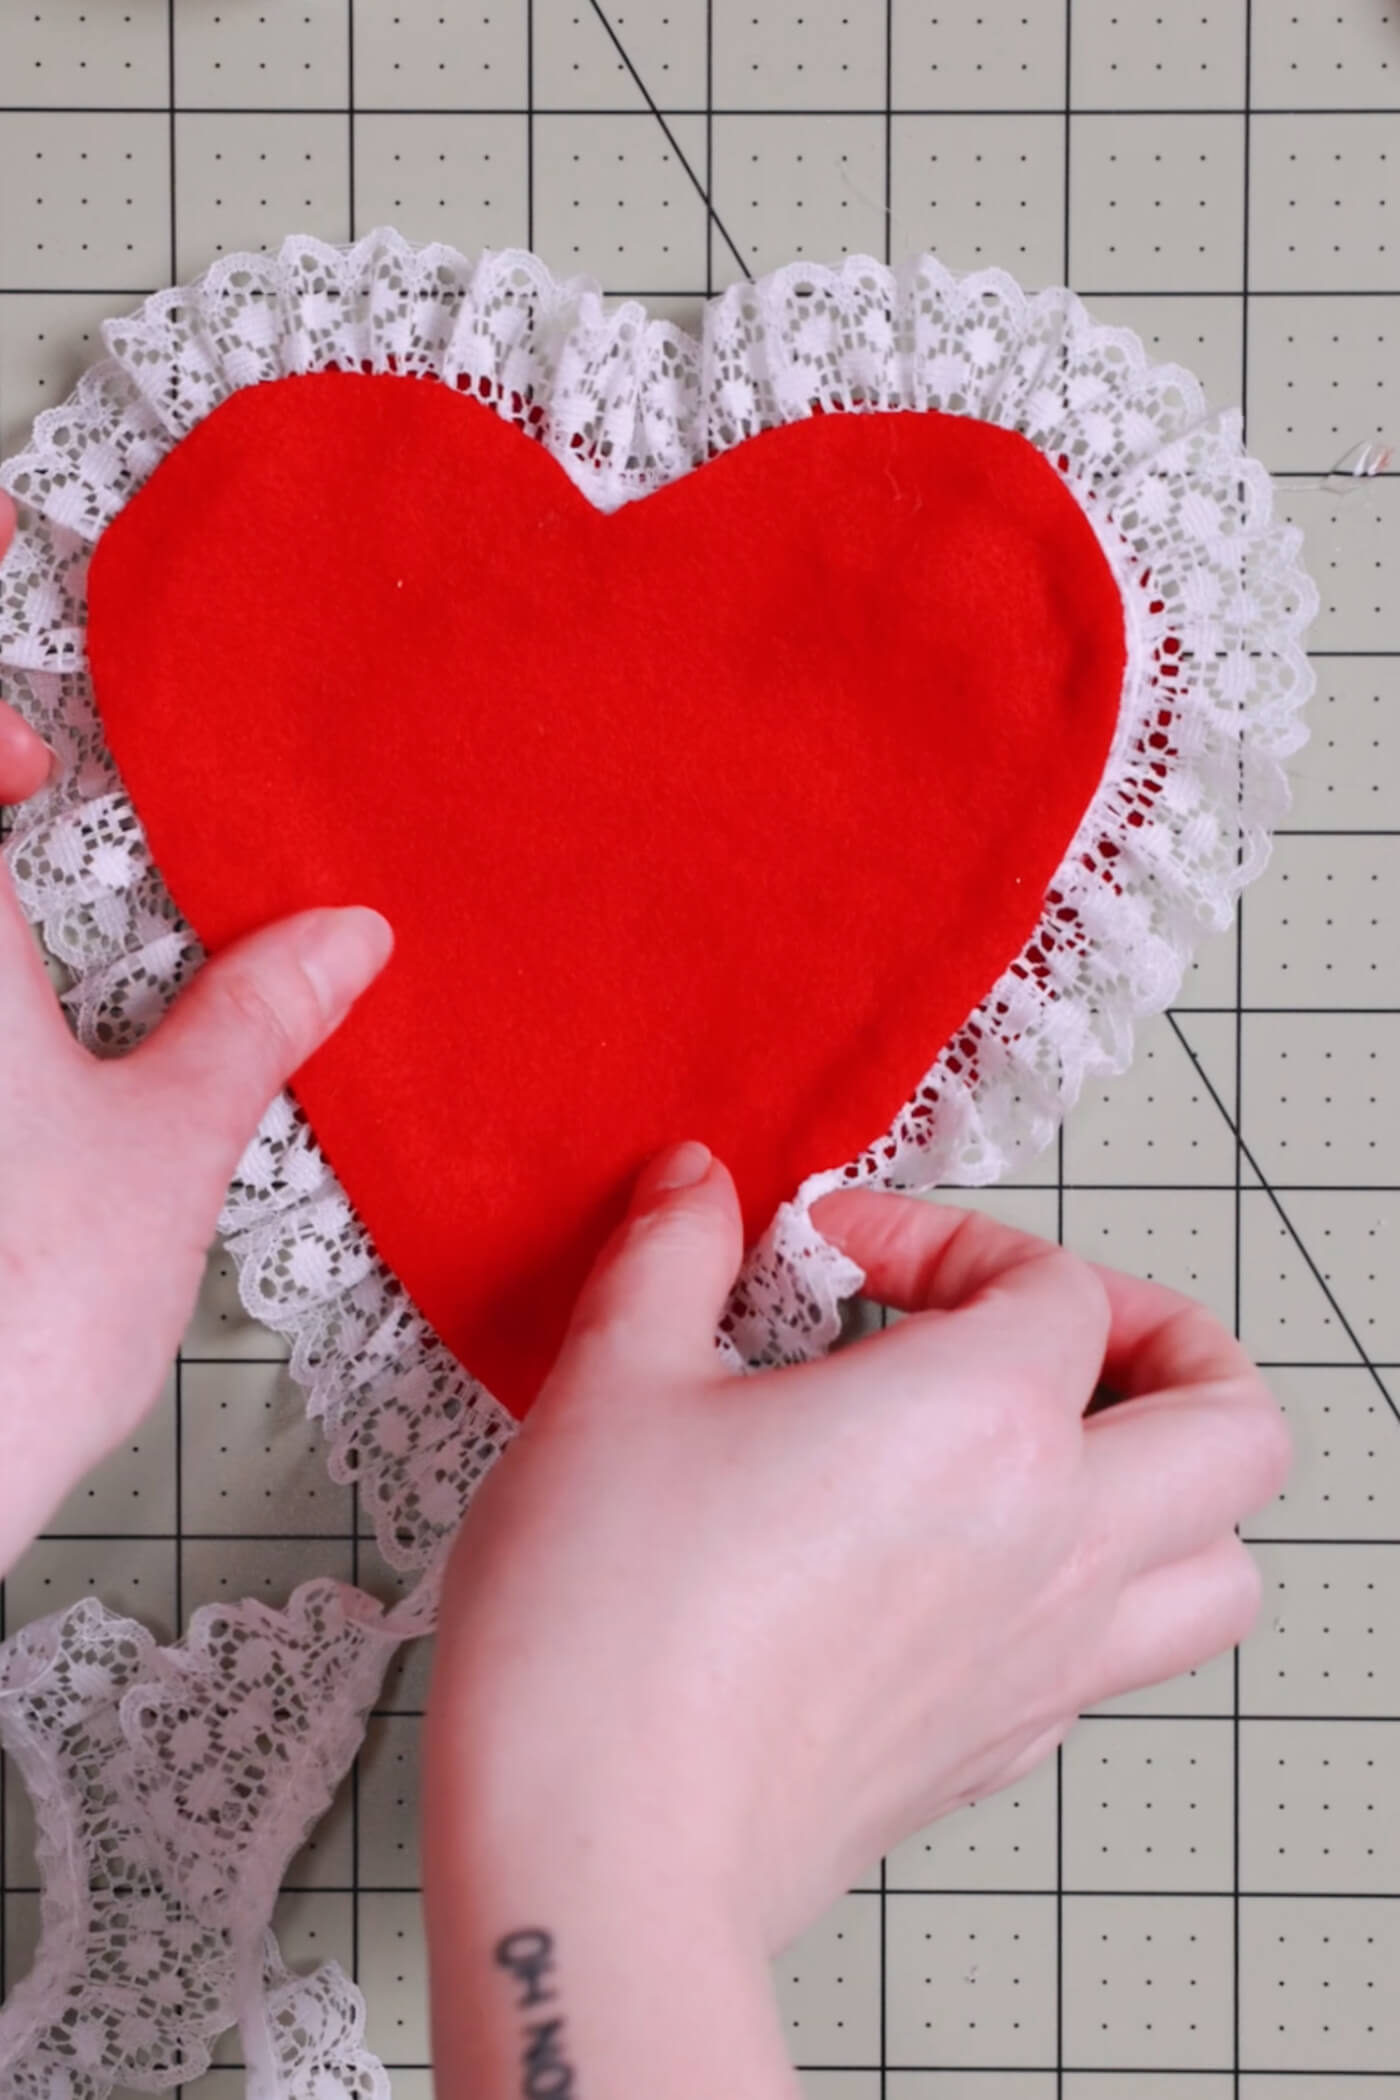
Adding fabric
cover the sides


glue the bottom
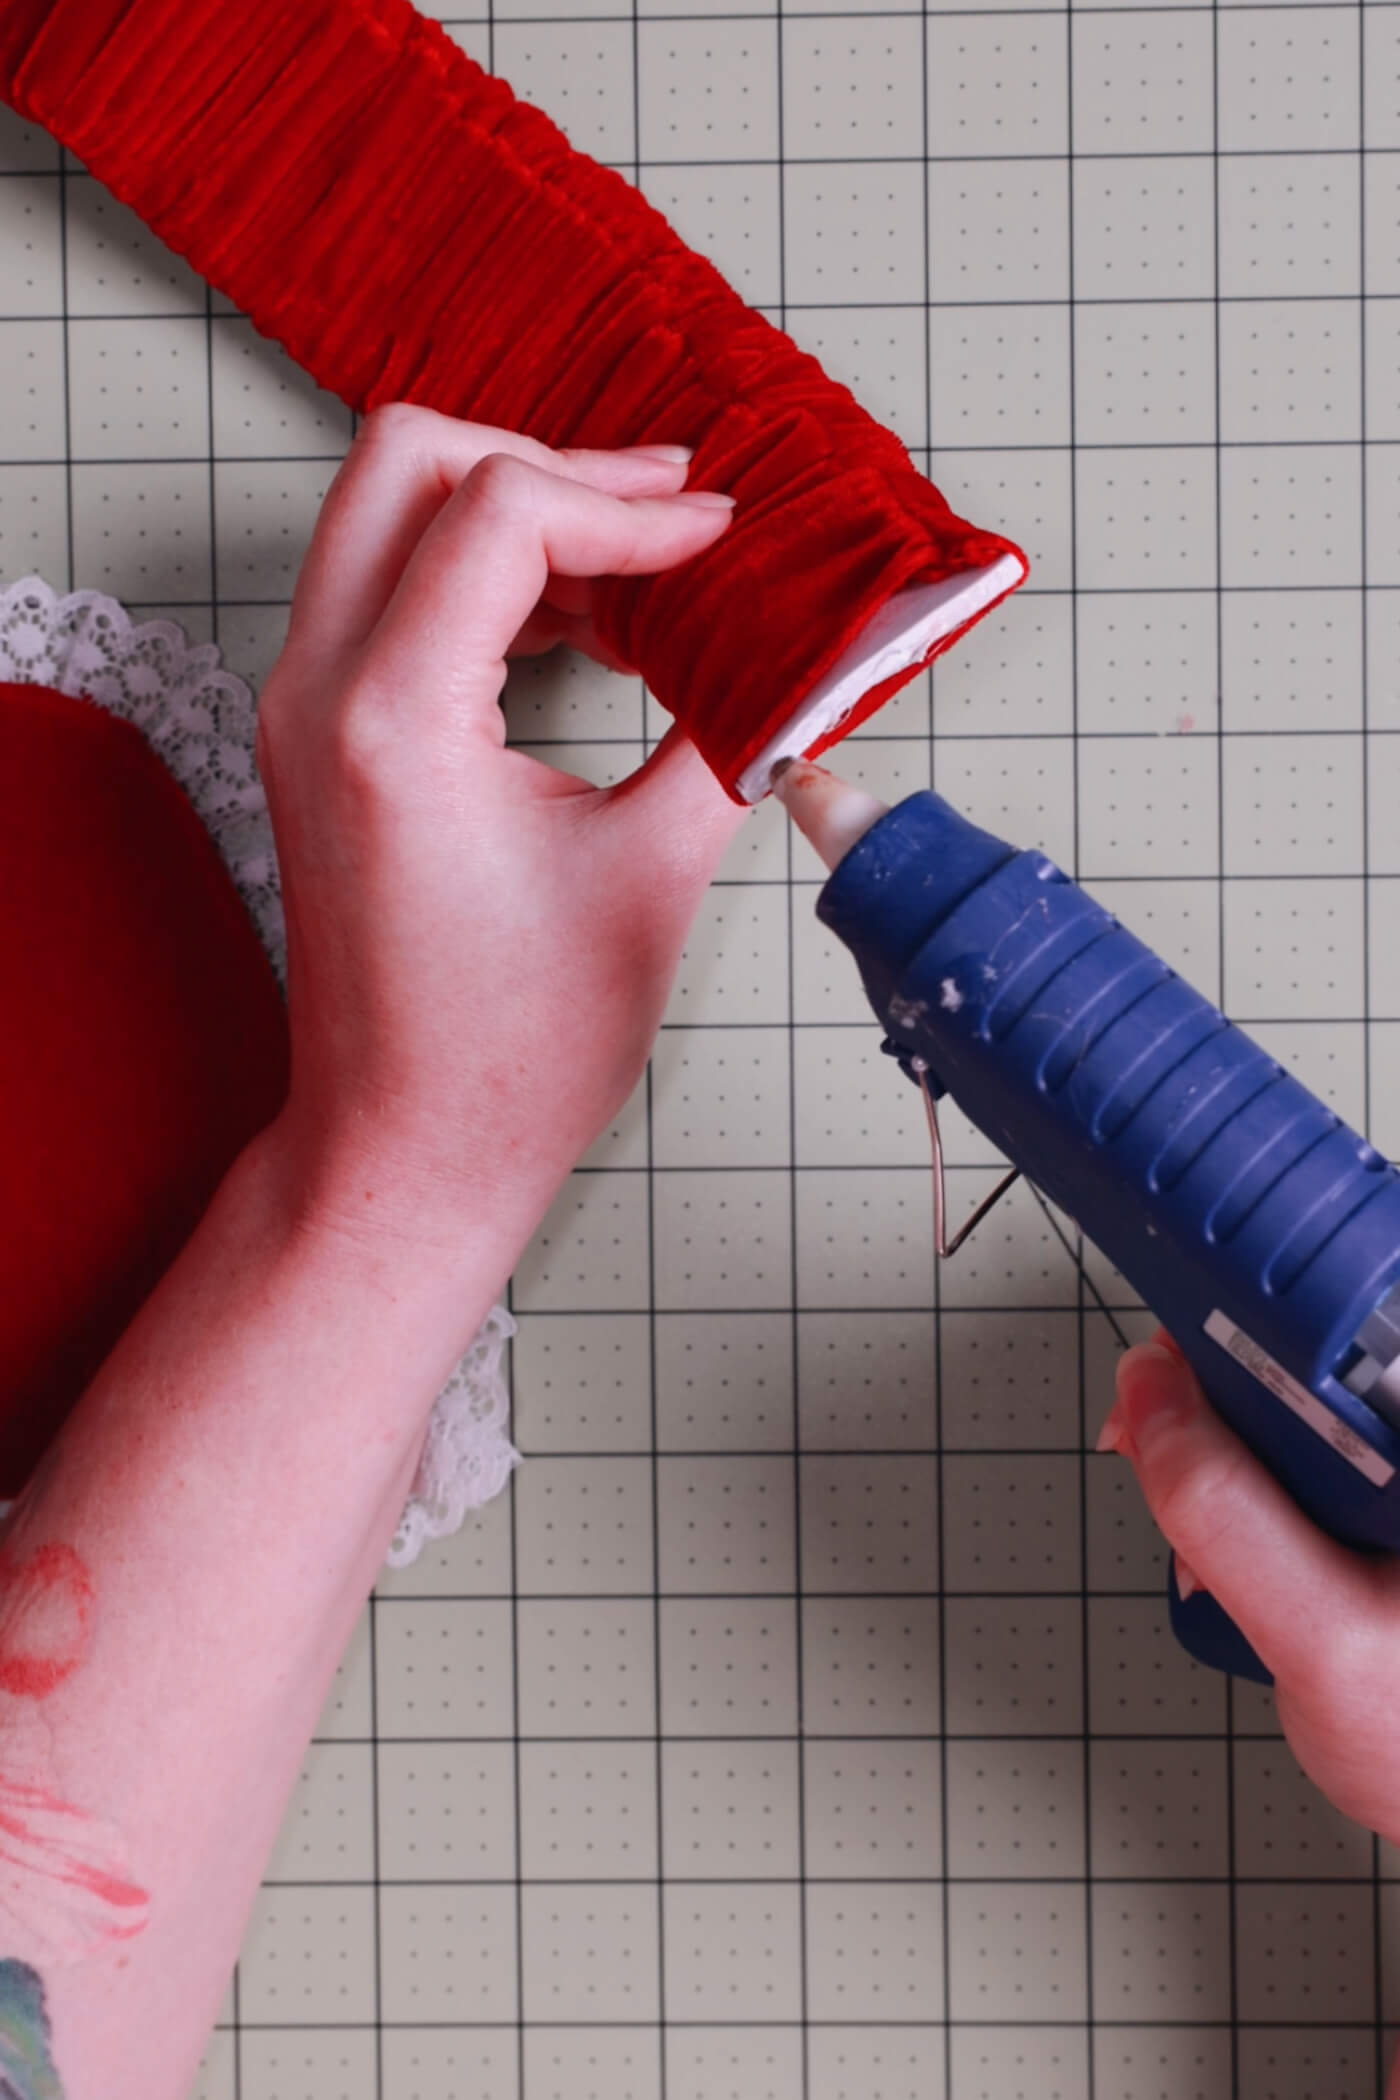
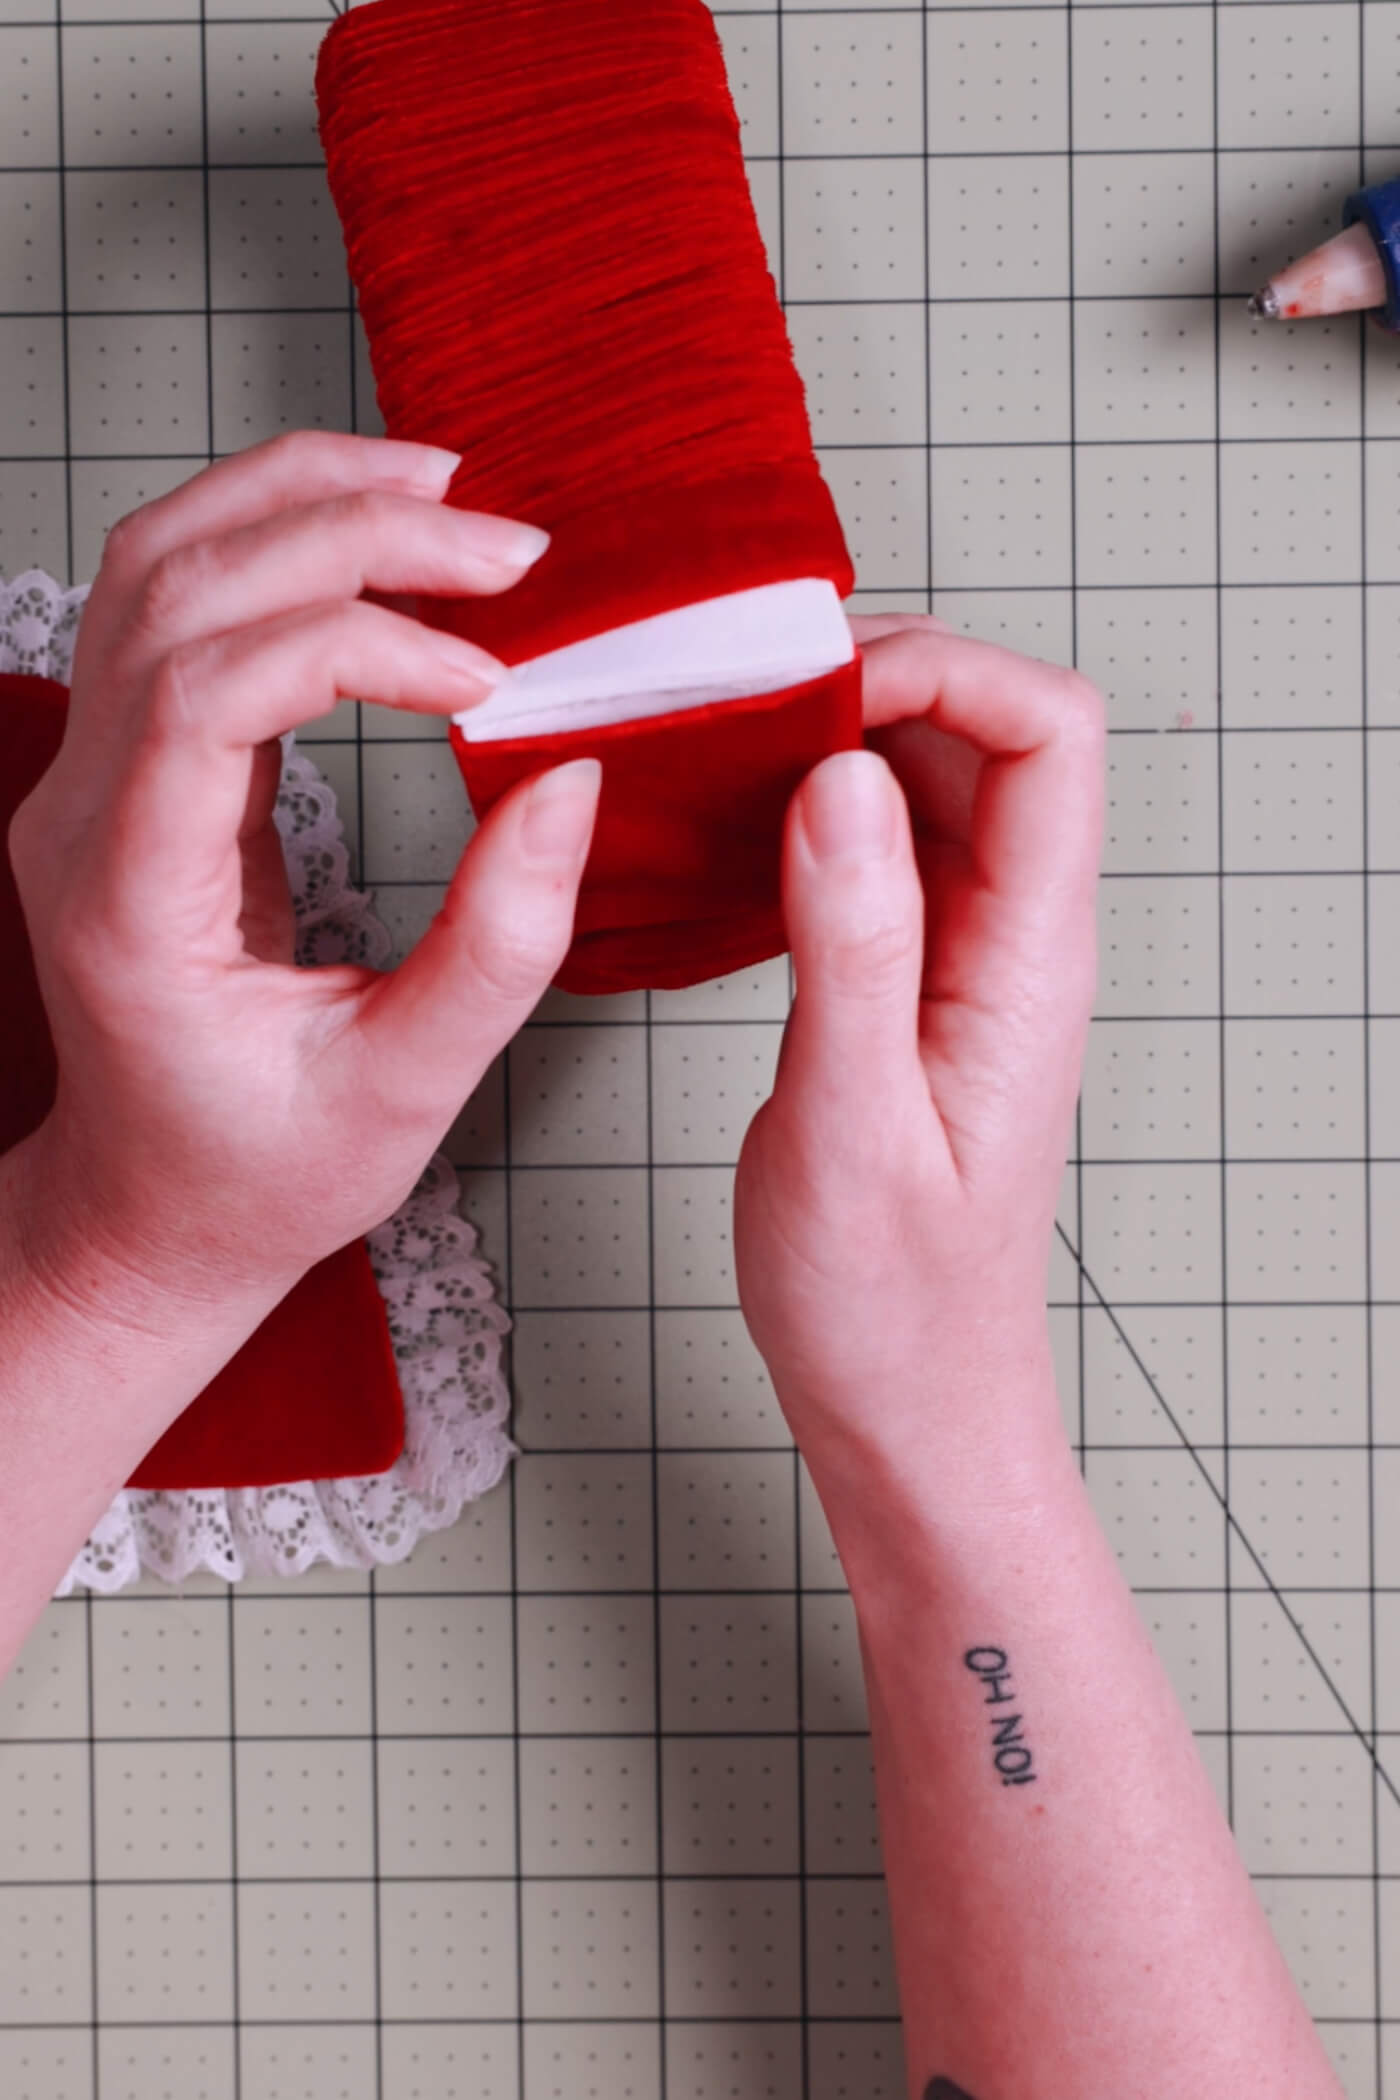
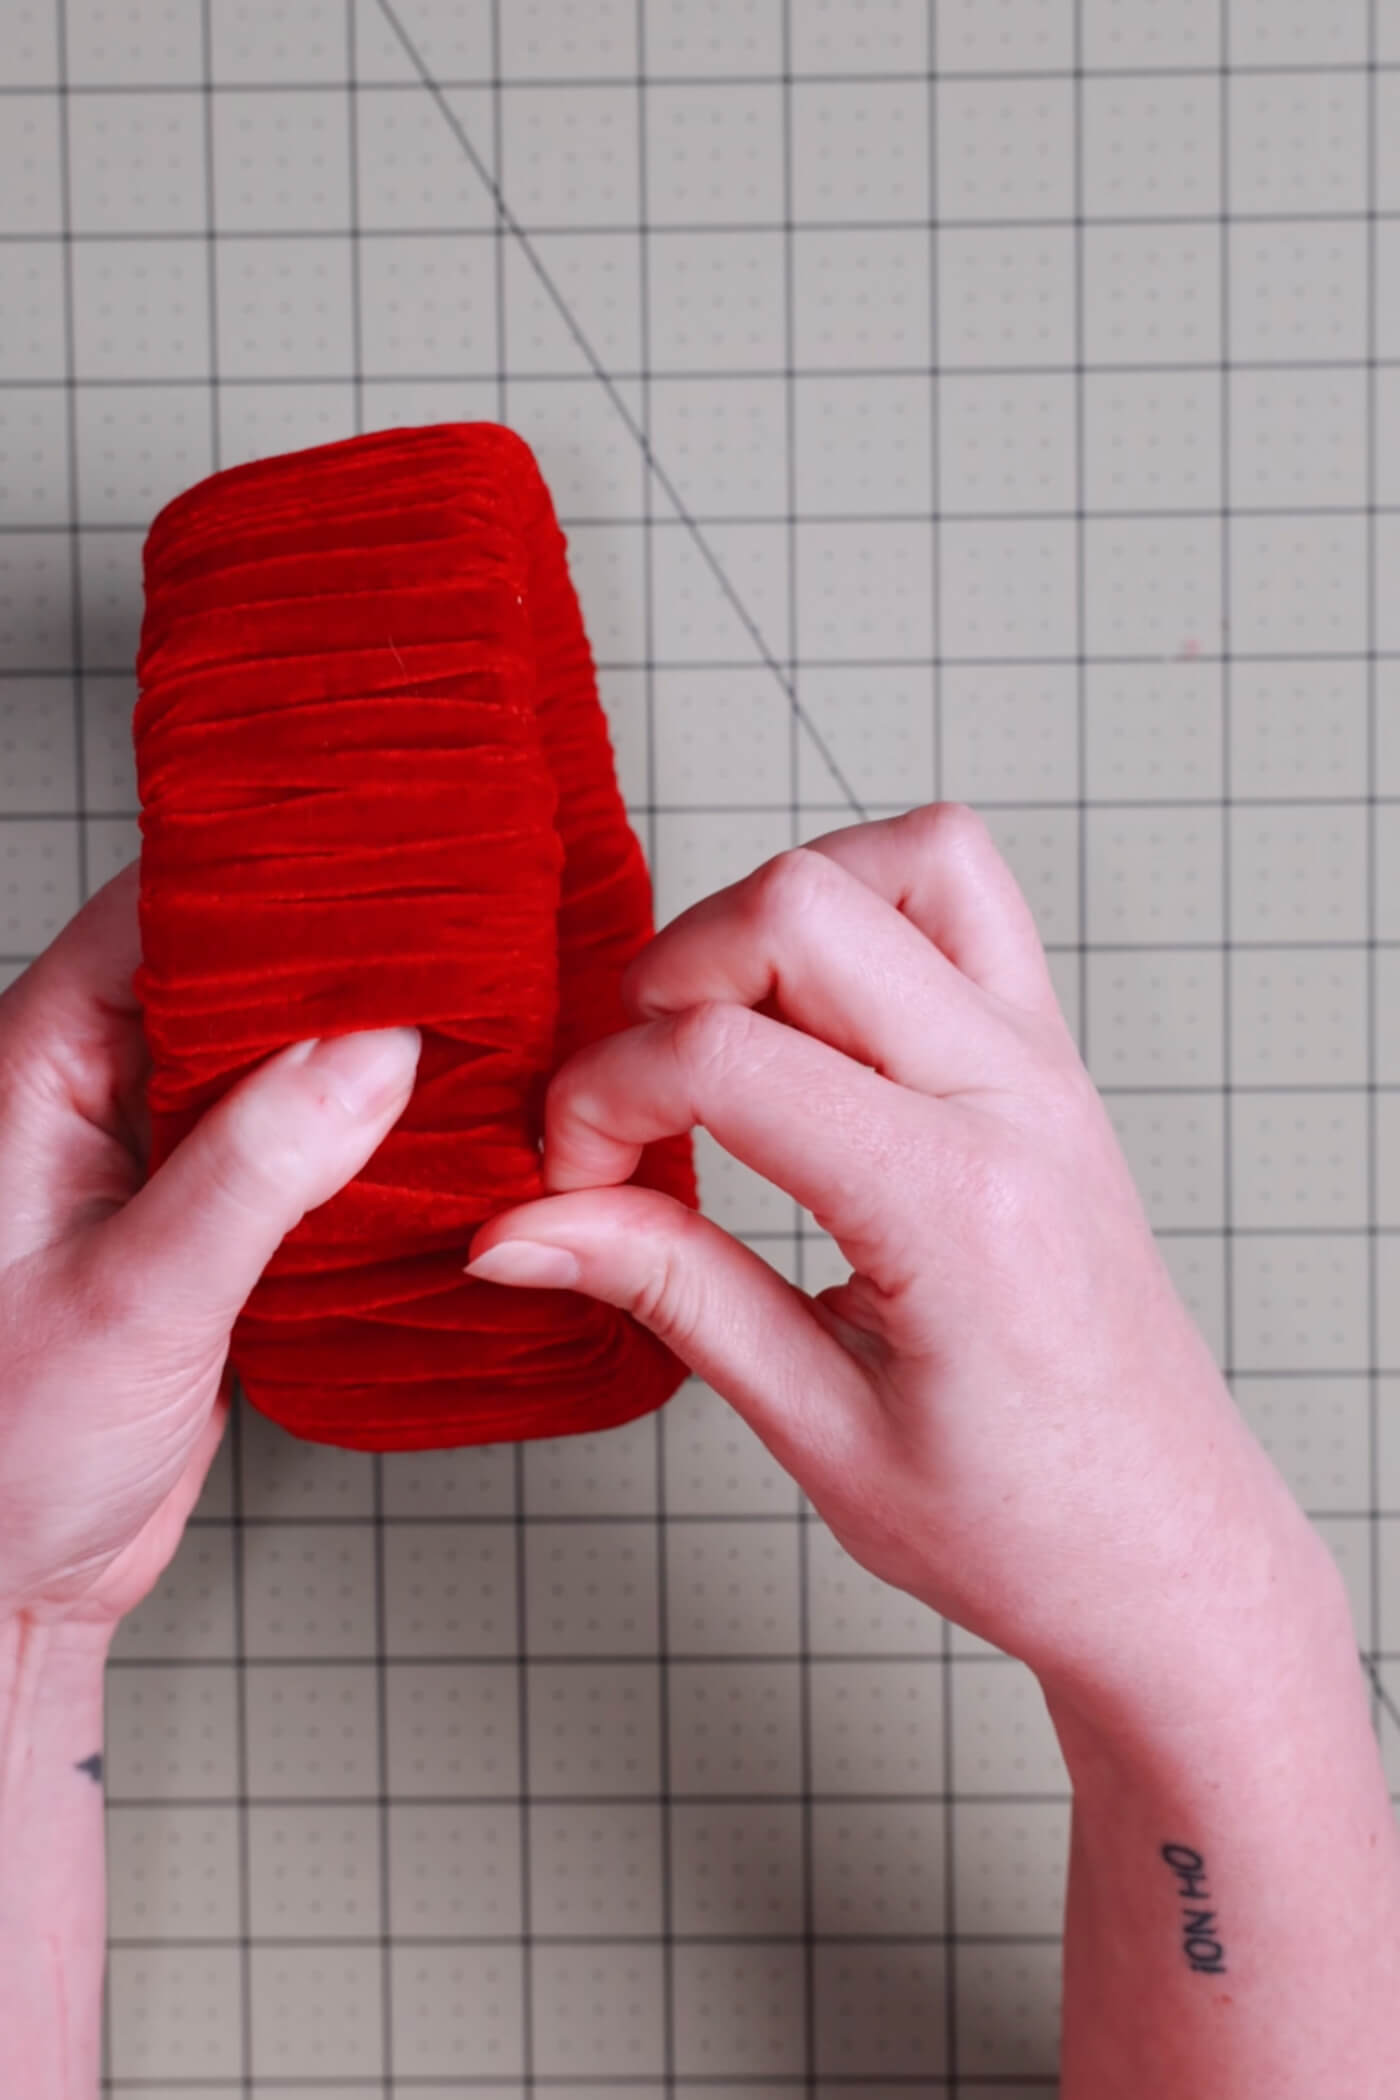
overlapping edges
cover the top heart
add trim

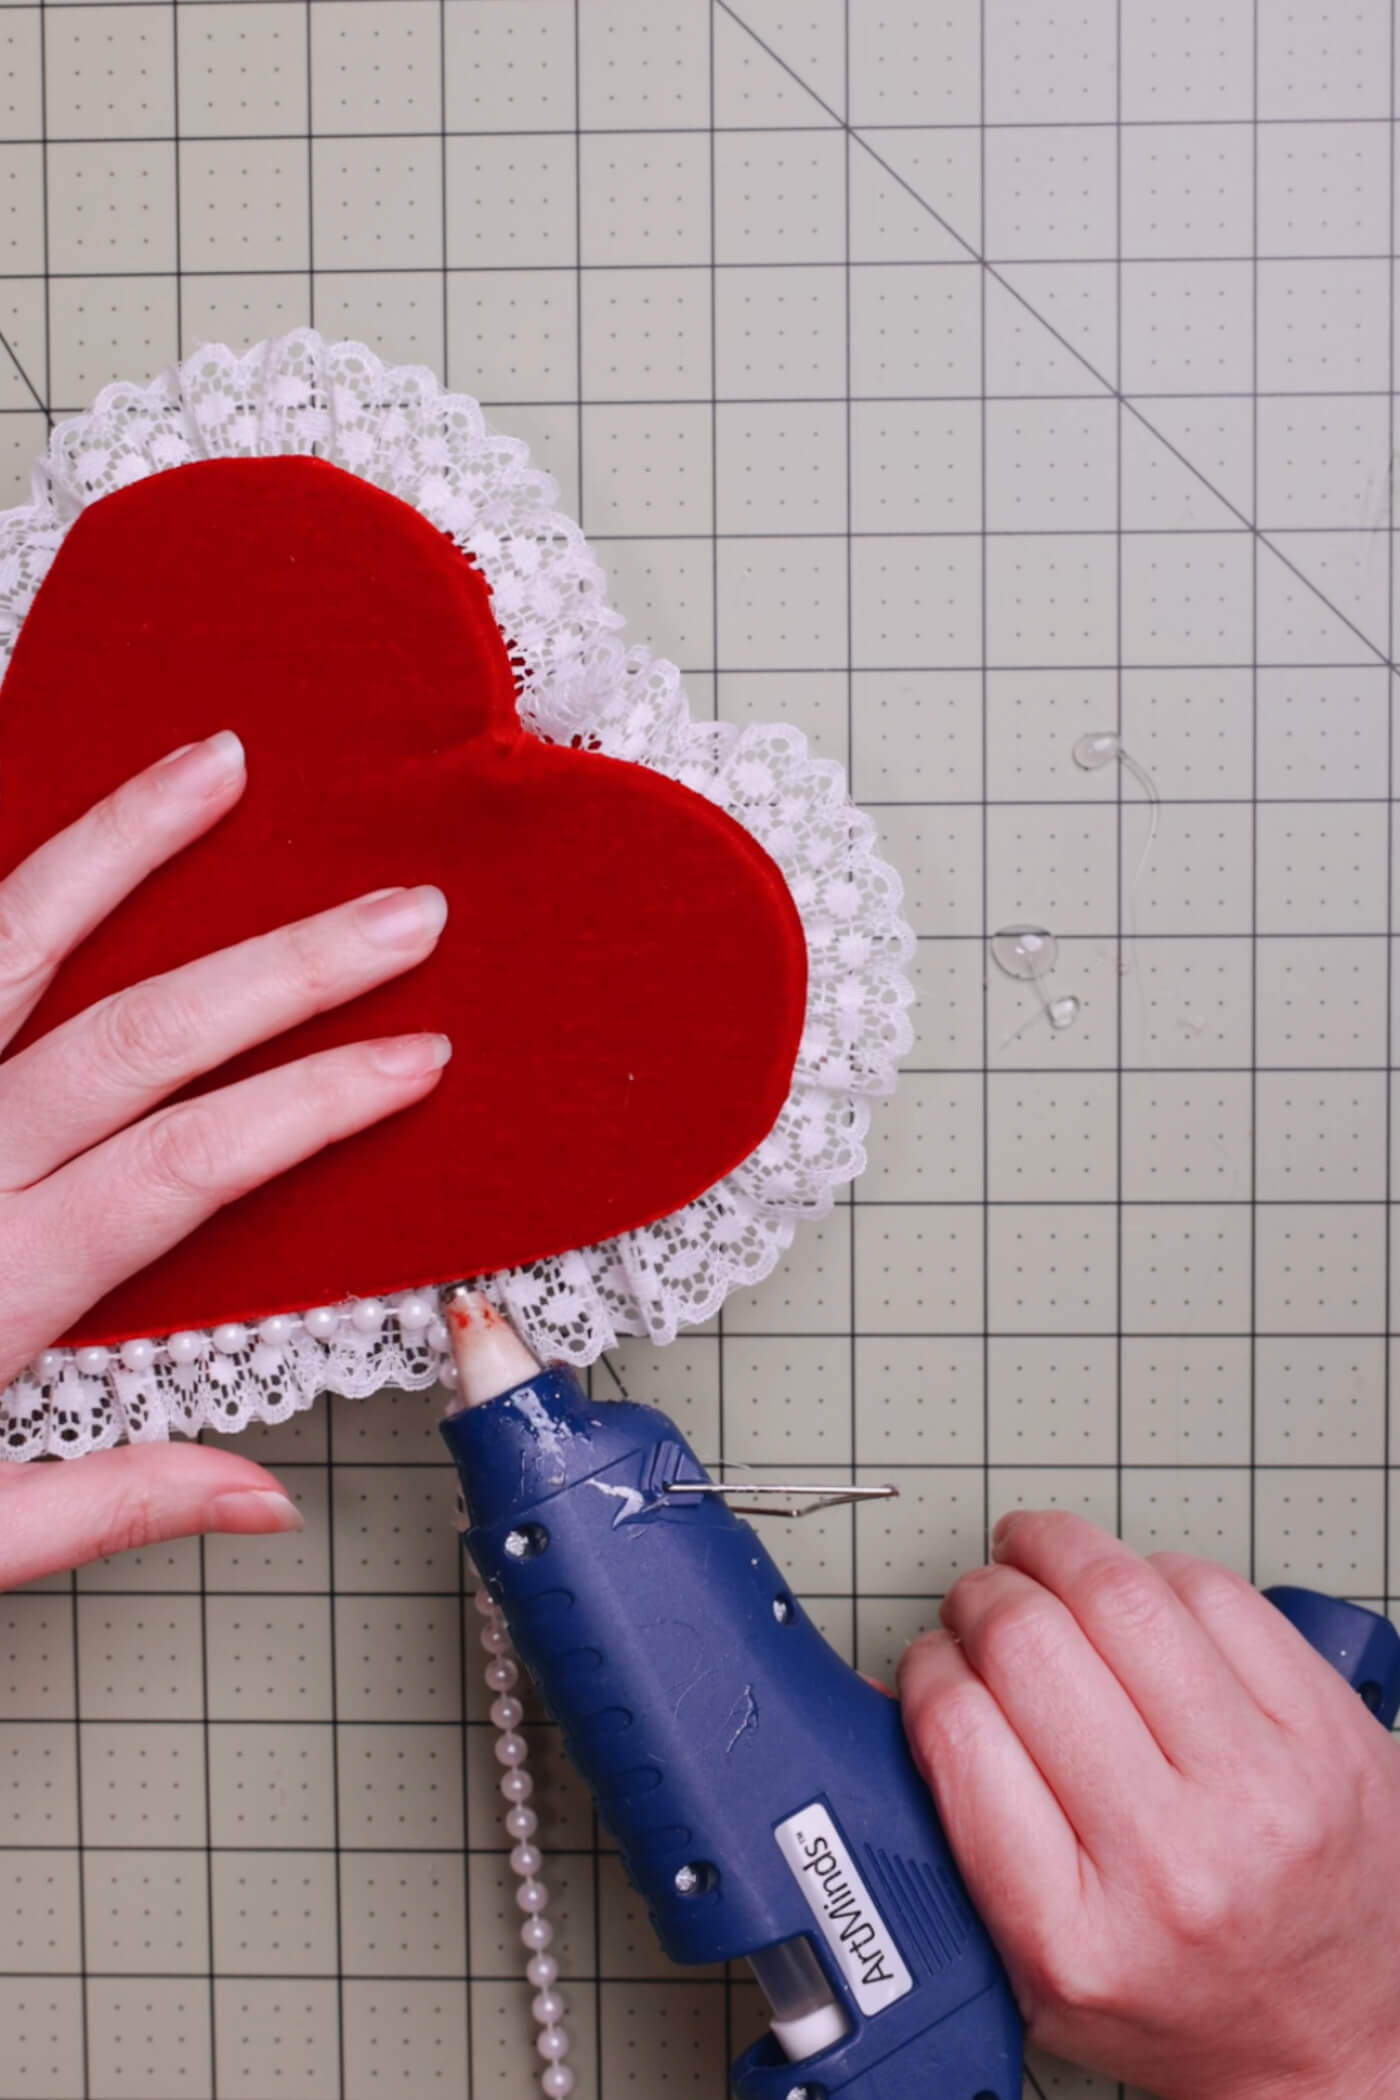
put everything together
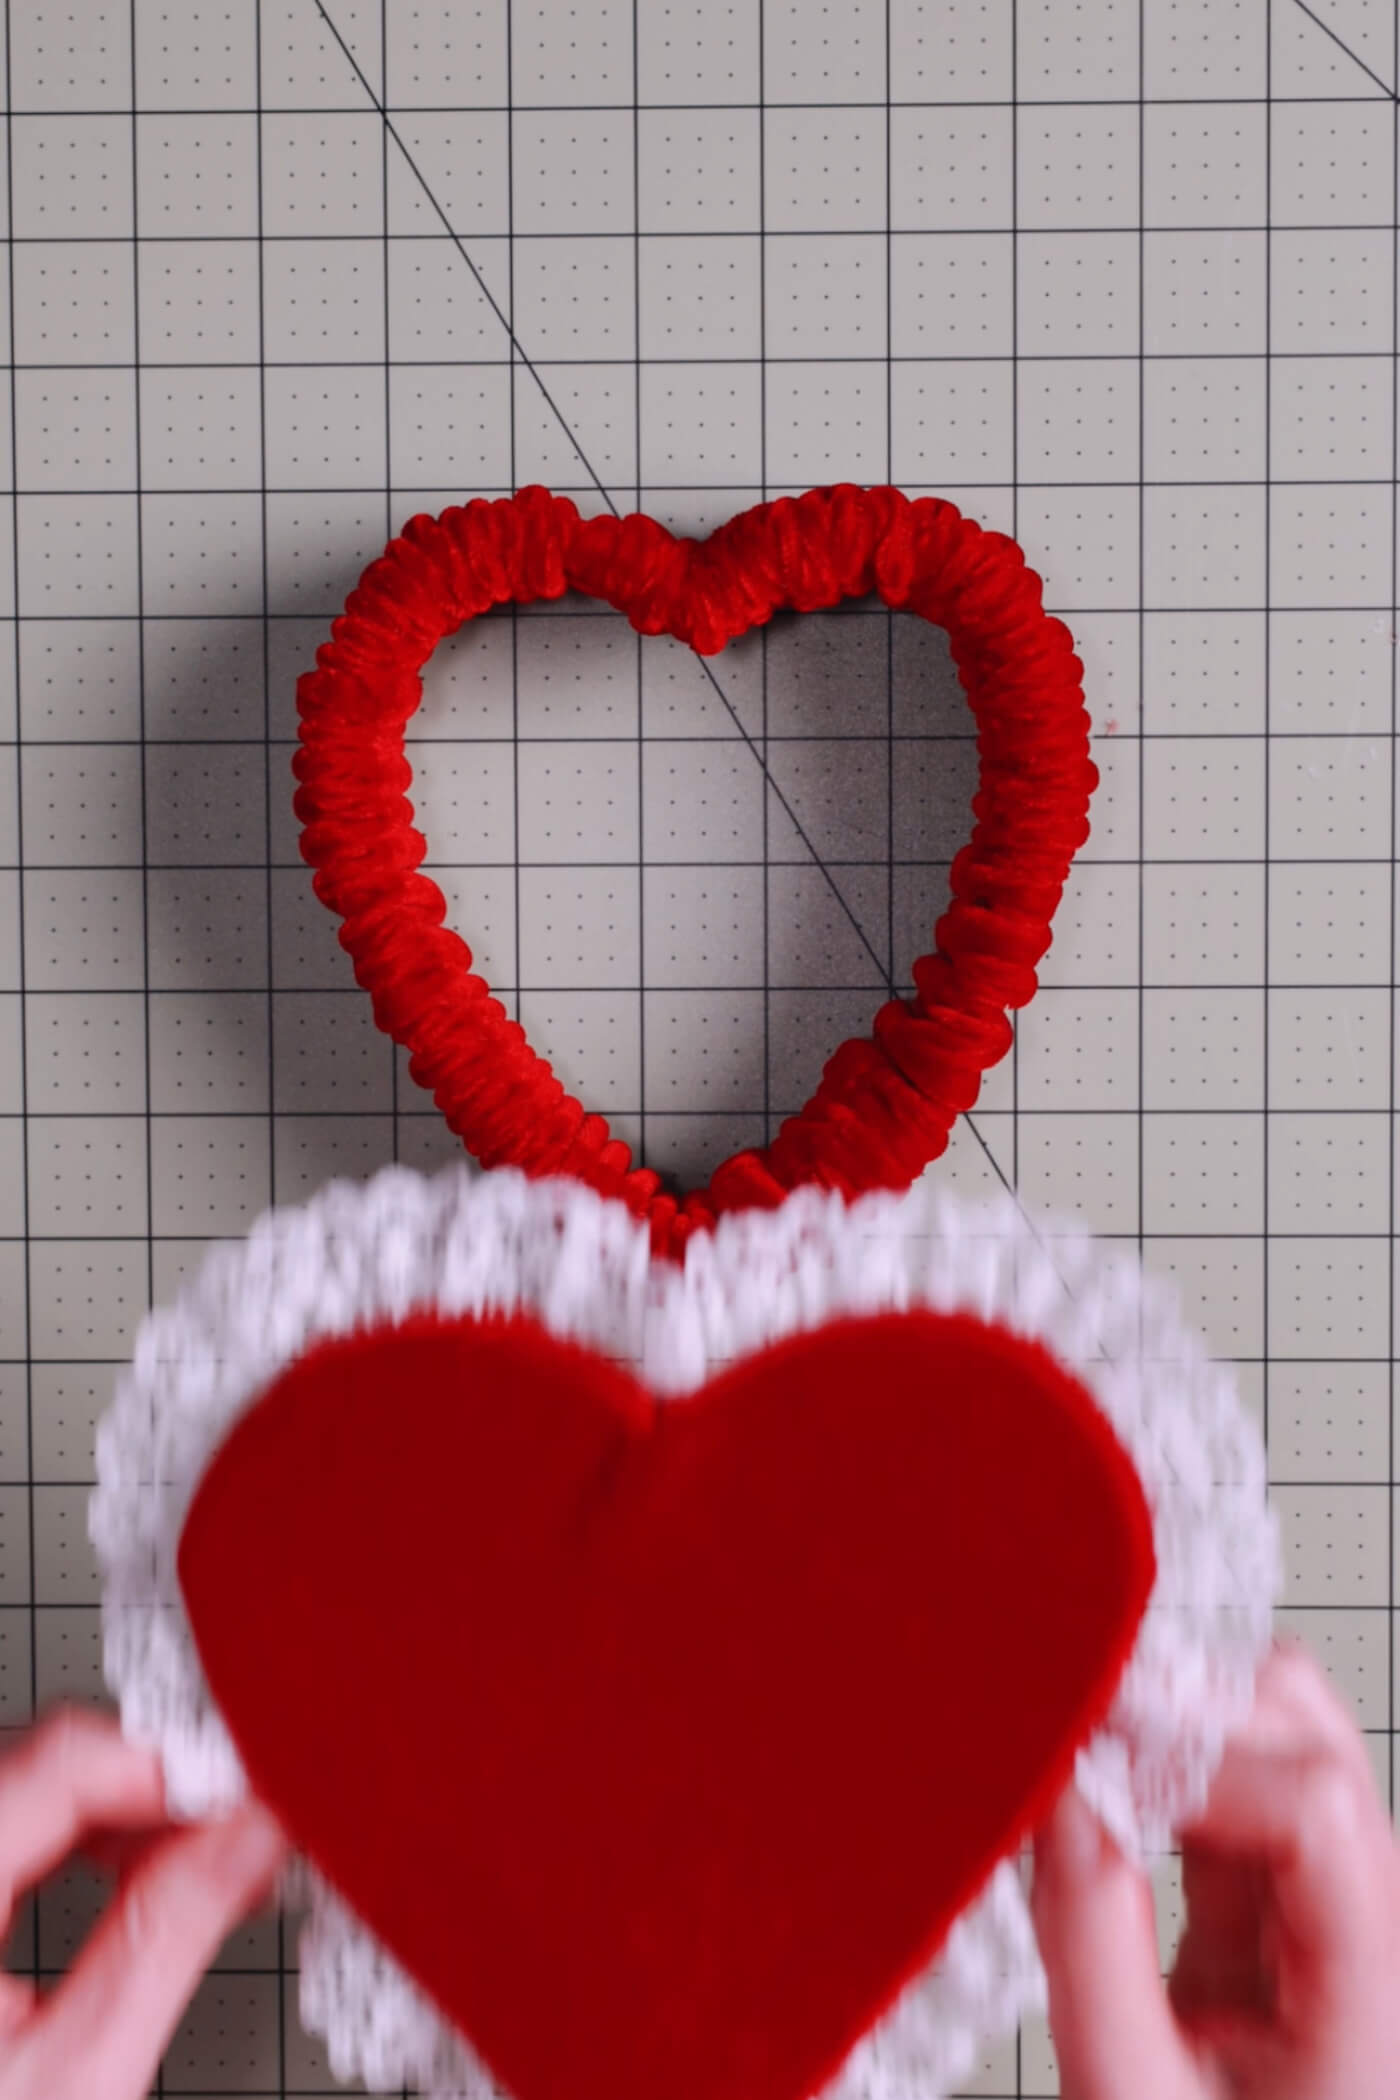

Let’s sew (sew)!
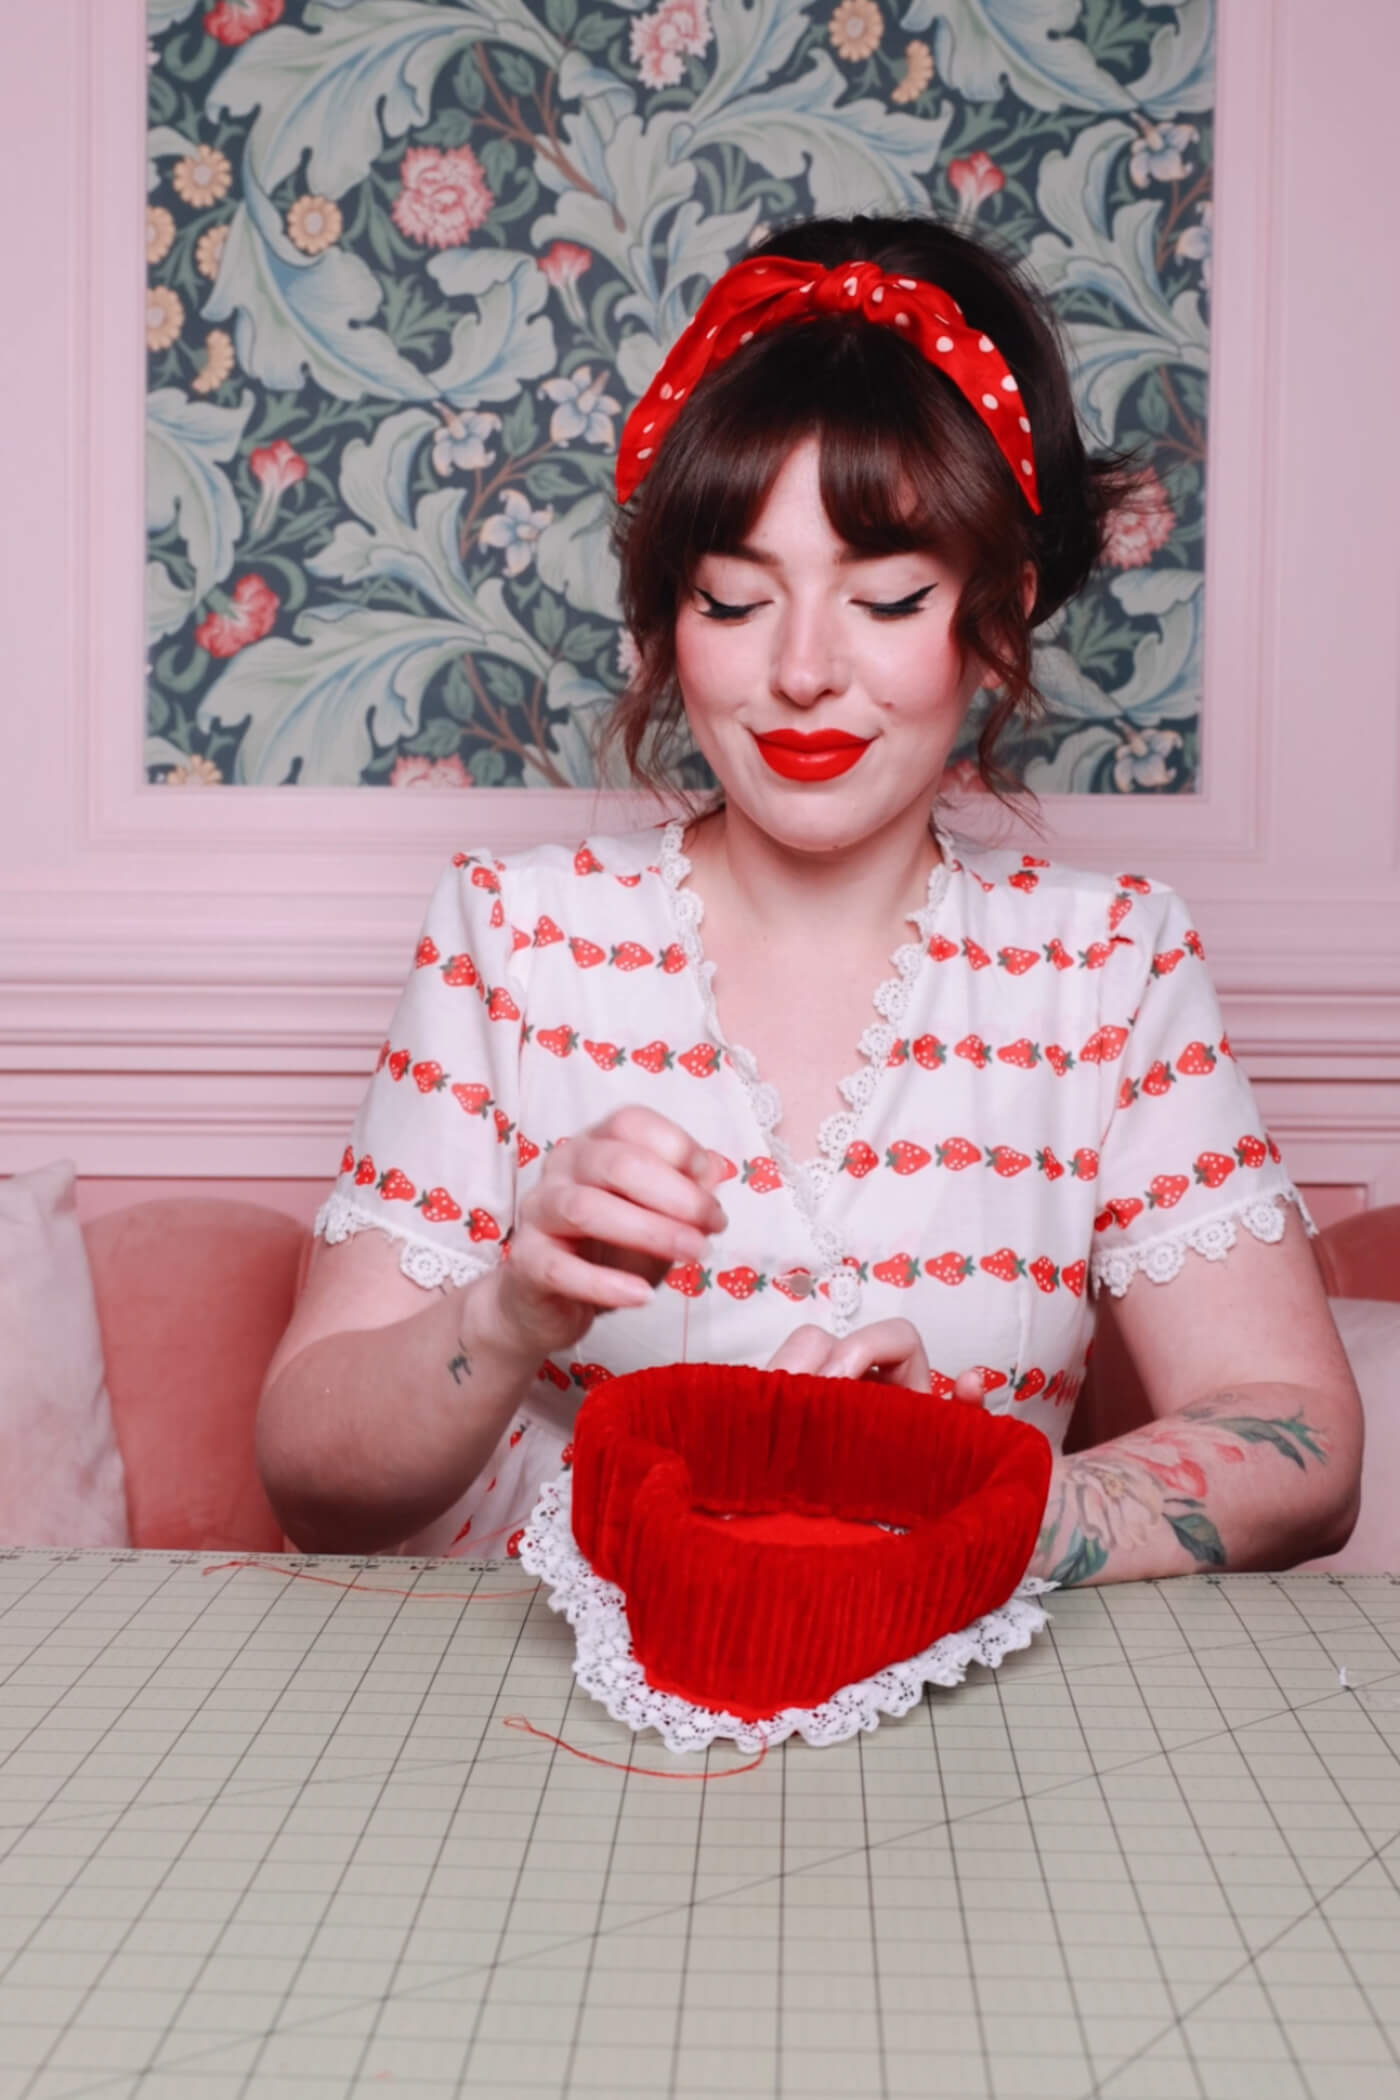
final touches
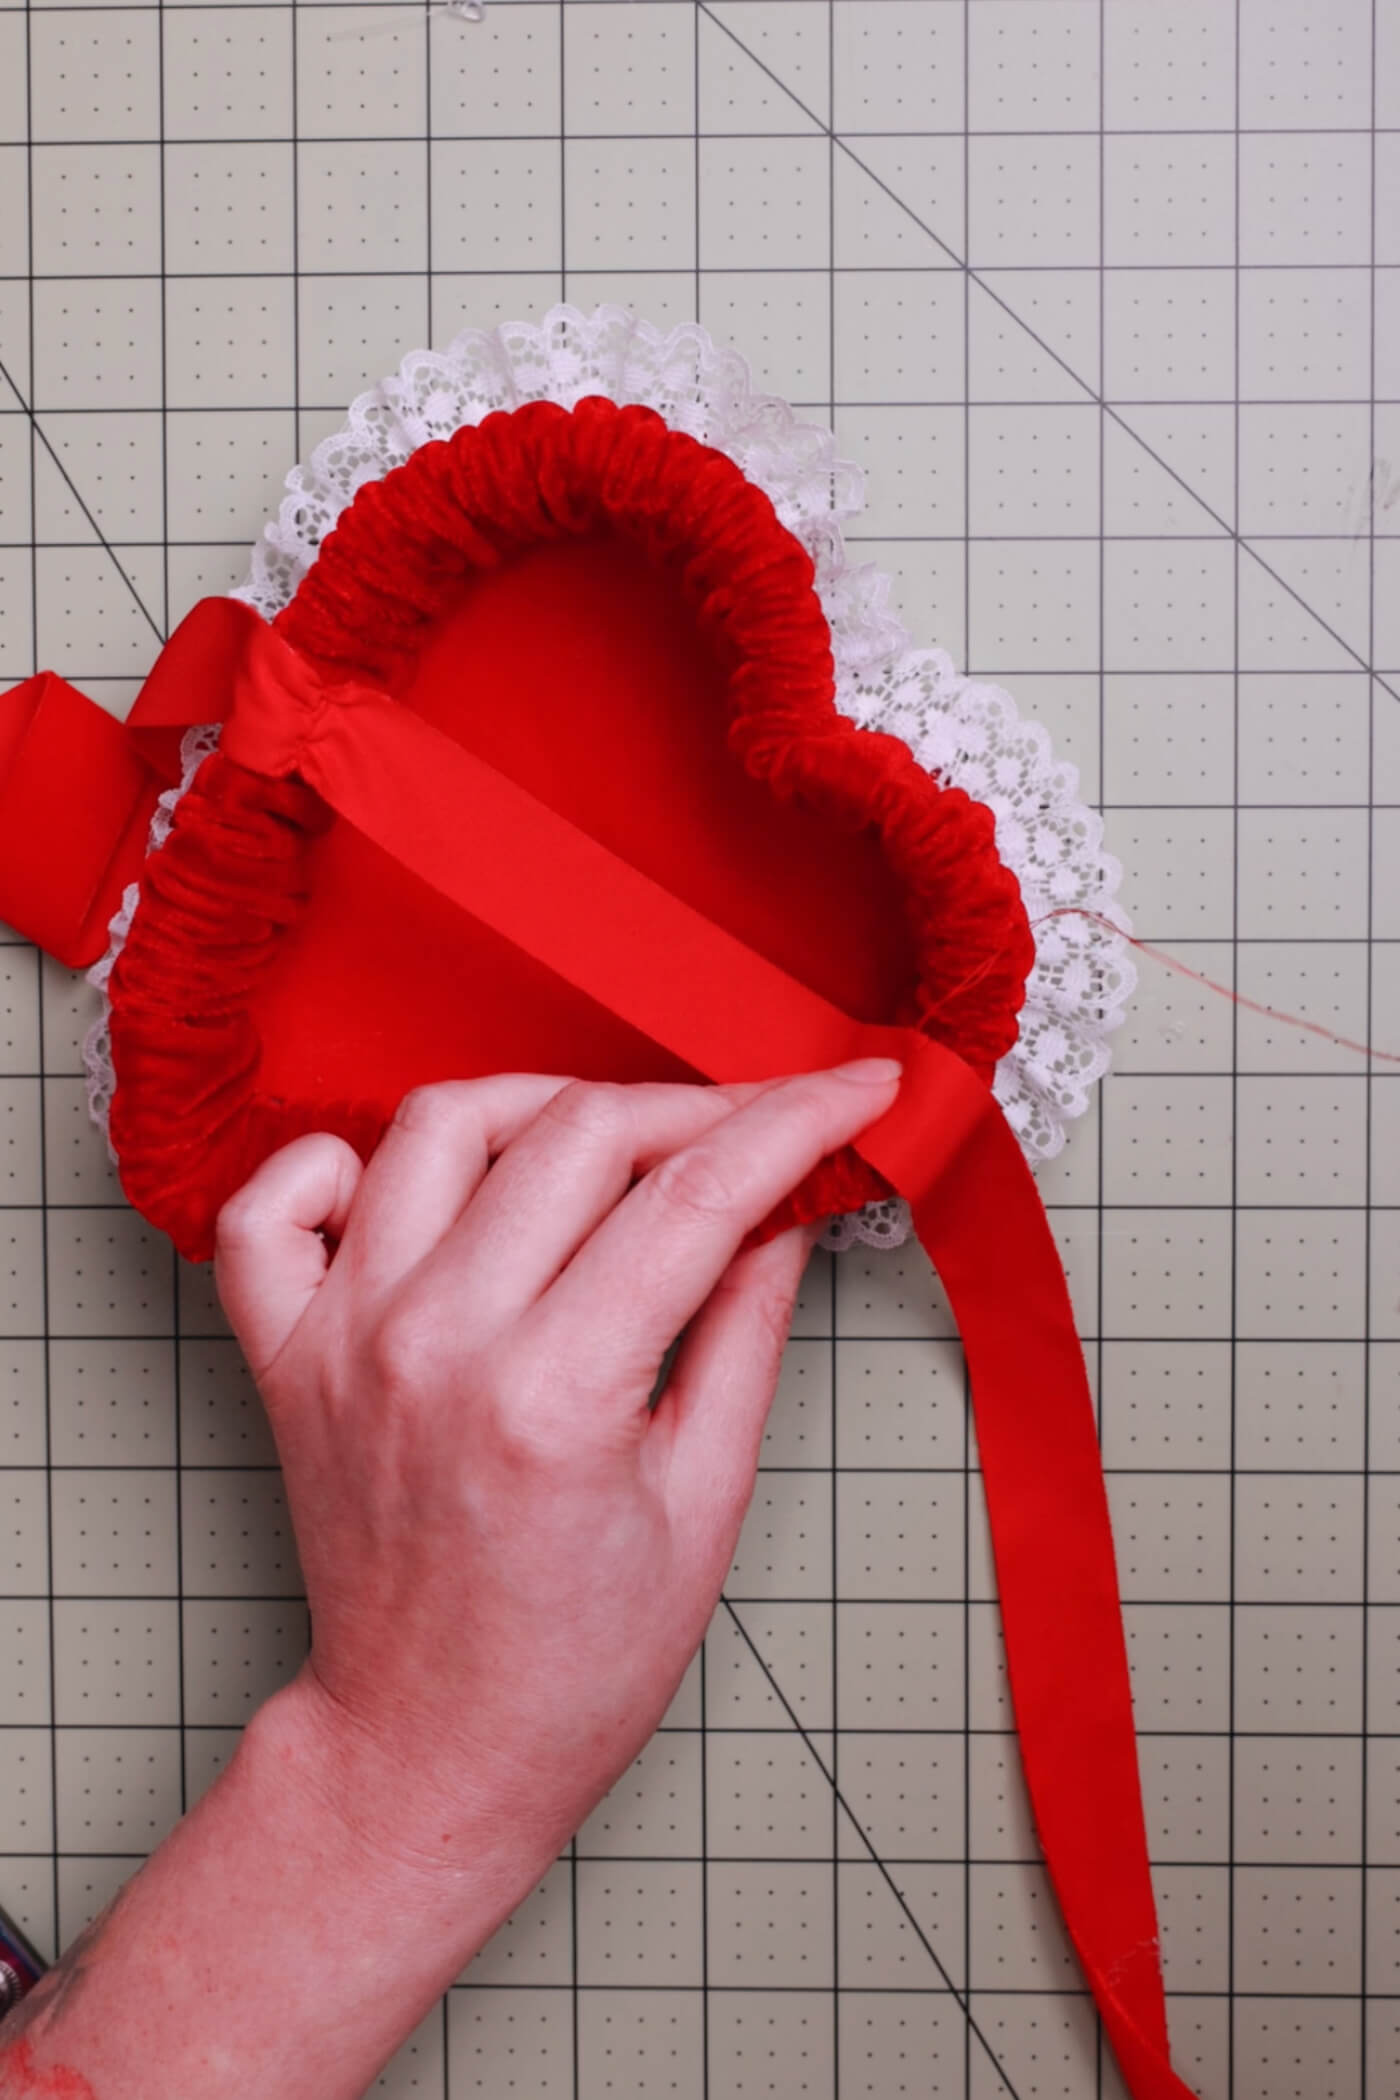
Finish with a ribbon
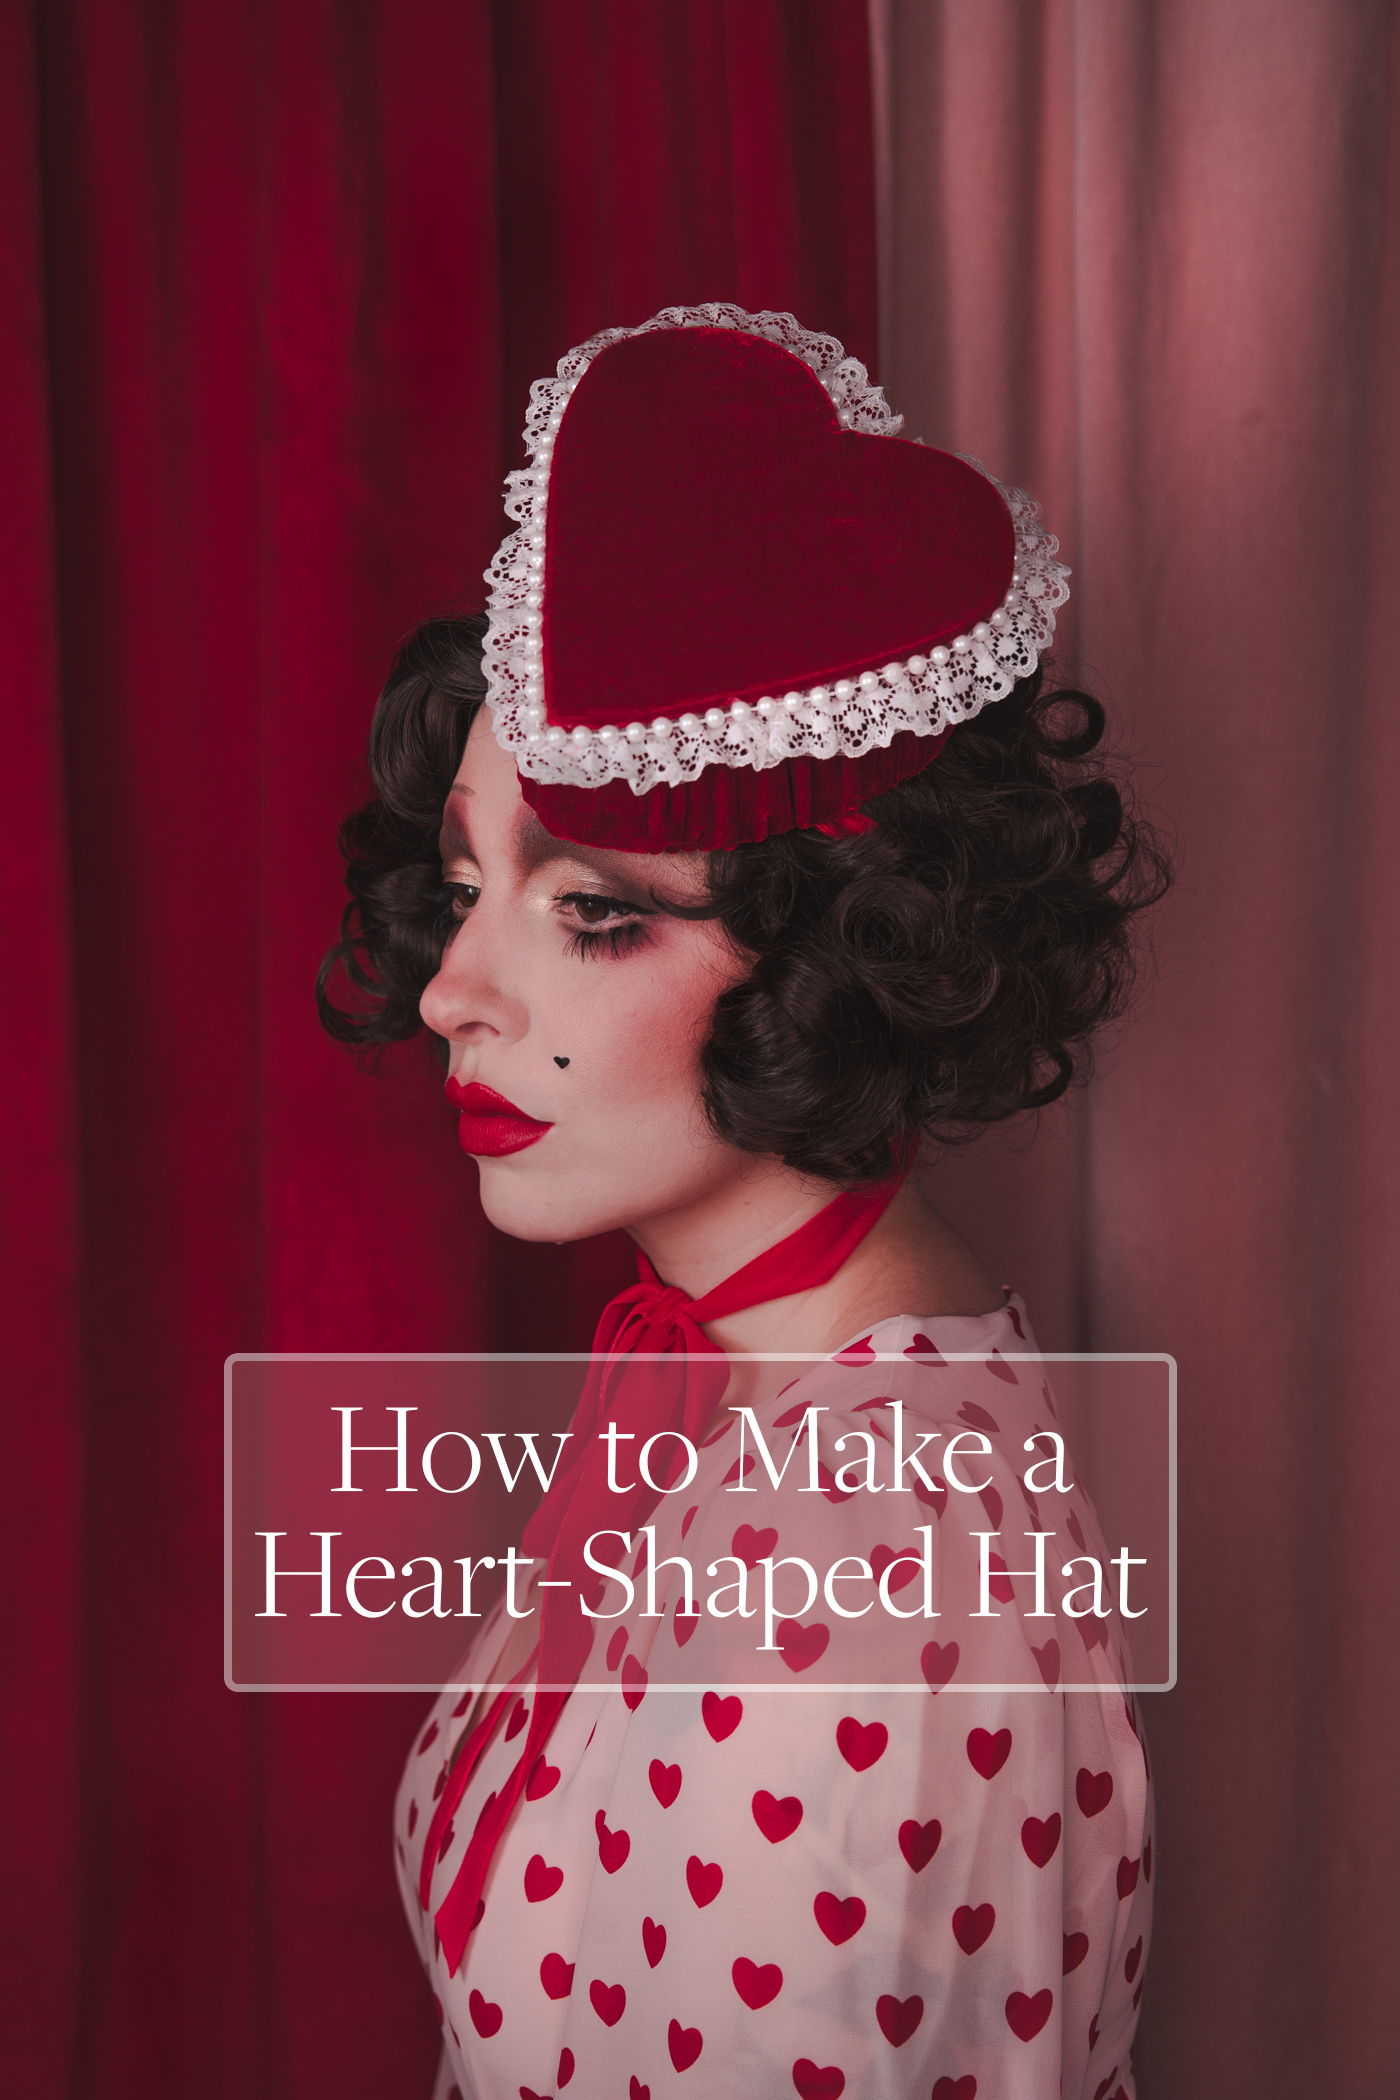
the last heart hat


end! I like to tie it at the back of my head (like a headband) and then wrap it around my neck and tie it in a bow.

Your very own heart-shaped hat is now complete. I made this for Valentine’s Day, but you can wear this any time of the year for a vintage look. I want to make one with a removable top and fake chocolate inside! You may also need to make other shapes. Any other ideas?
Like this post? Pin it to share later!
Buy this post