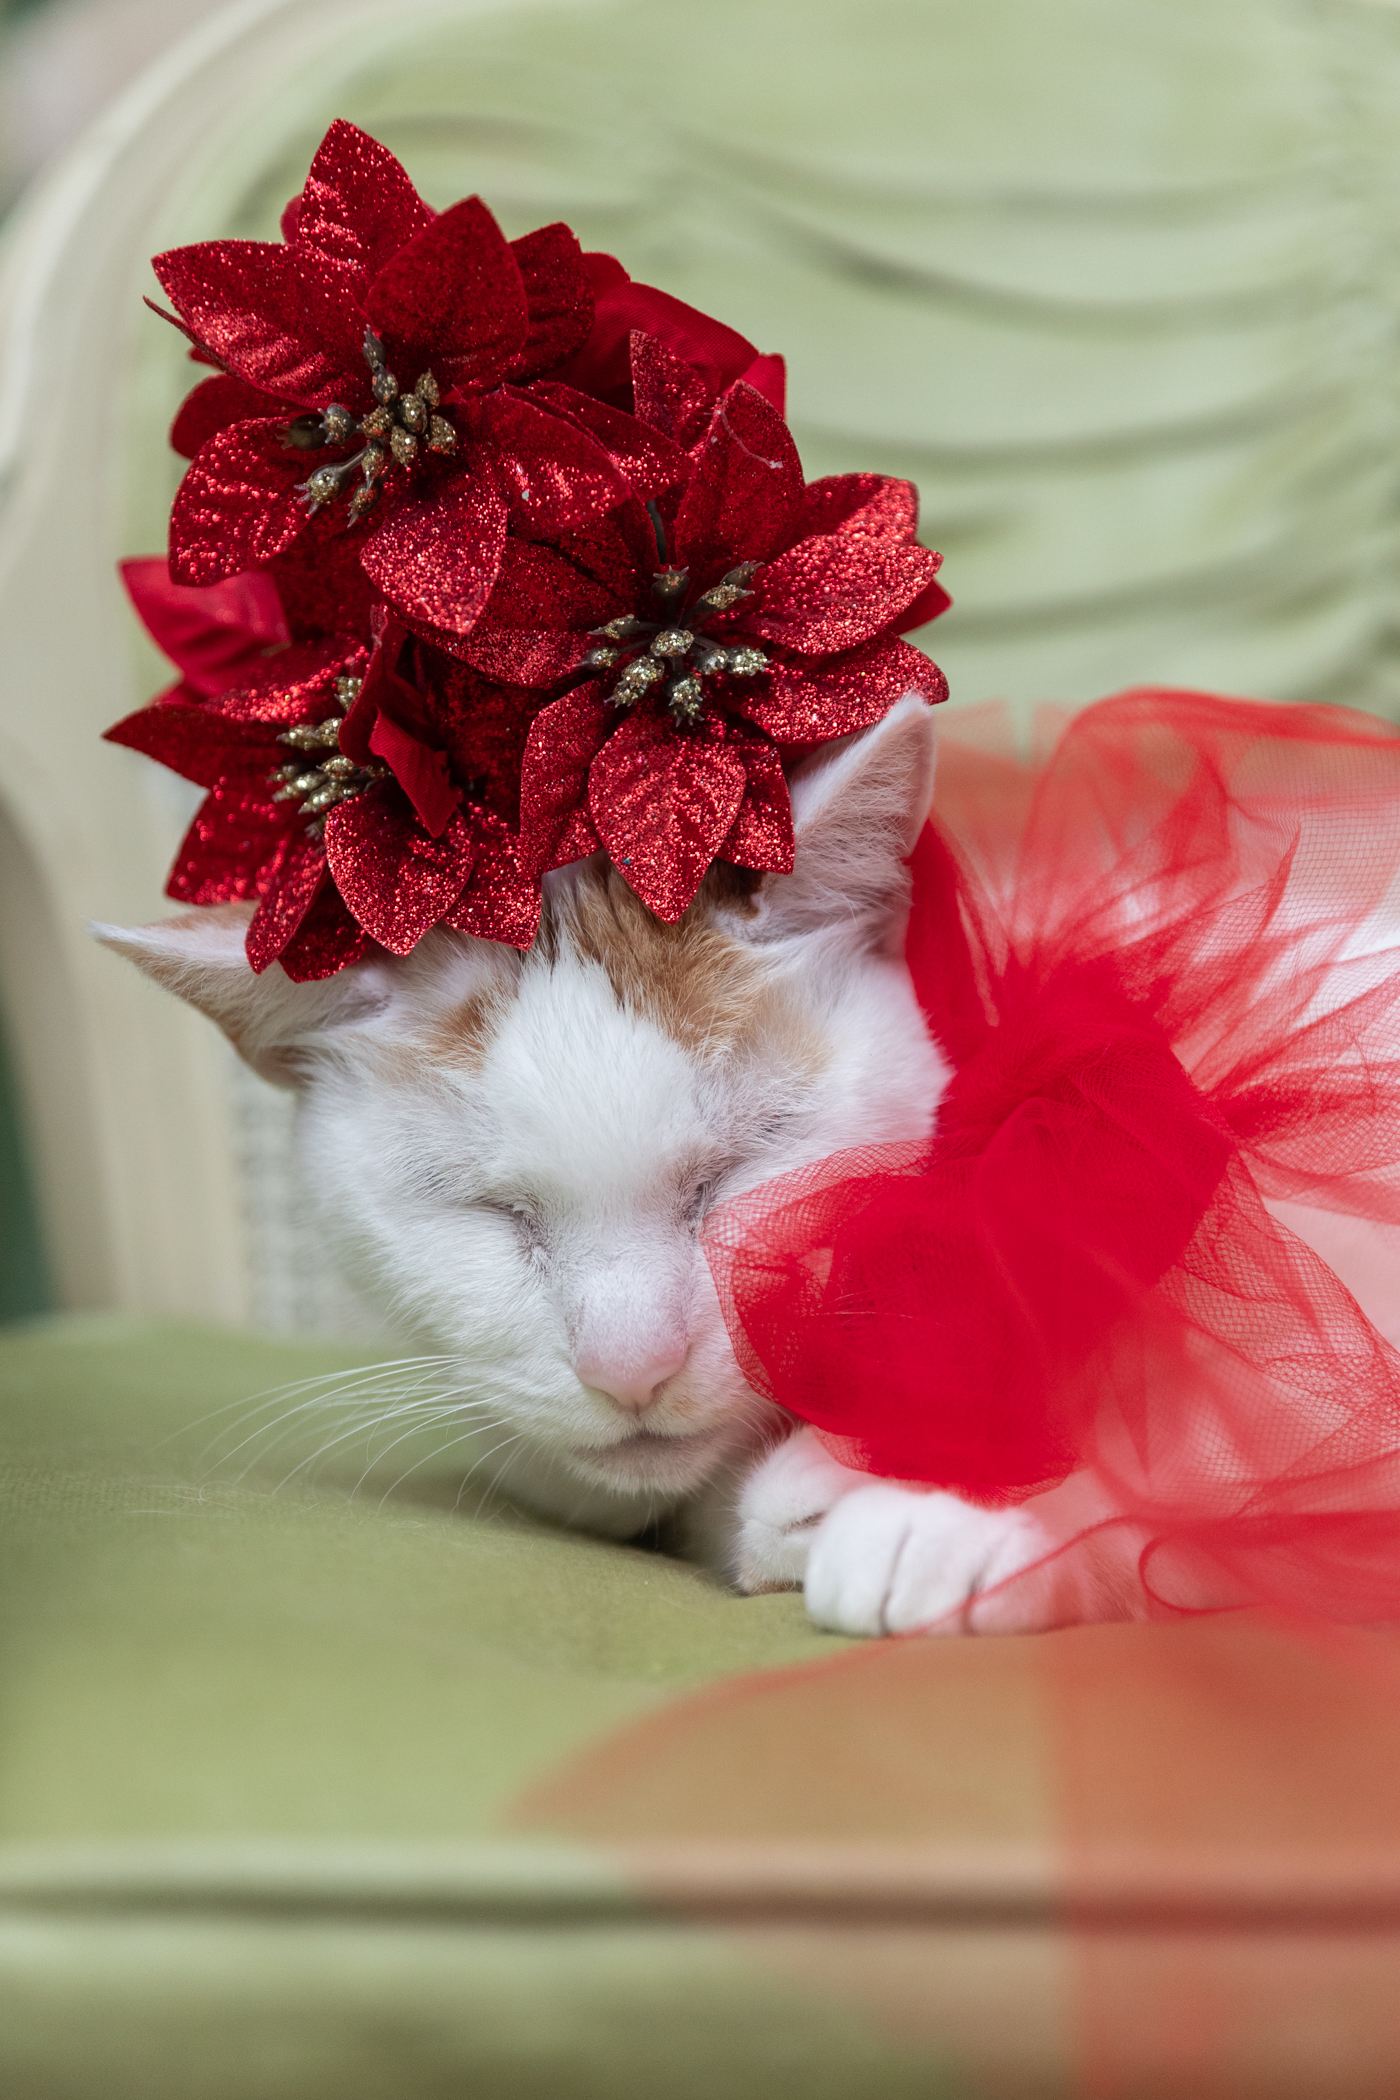
How to make a DIY Christmas tree hat
Christmas crafts might be my favorite because they revolve around camping and whimsy.my diy christmas tree hat maybe This will be my favorite craft of the year.
I would be happy to create a step-by-step tutorial for next year, but I ran out of time before my trip. Still, we’ll tell you more about how to create your own.
Gather your essentials
For this project I used:
make the base
Make a cone shape out of felt. Alternatively, if you want to stop sewing and just use a hot glue gun, you can use a party hat as a base. I just had a visual look at this to see how big I wanted it to be. Tip: First, make a paper cutout and use it as a pattern. Note that covering it with frills, ornaments, or flowers to make a Christmas tree hat adds extra bulk.
make frills
It’s already cut quite small but has plenty of length, so I used a spool of tulle for the ruffles. I made the ruffles the old-fashioned way by folding it, basting the folded side, and pulling one of the threads and gathering it by hand. Don’t want to make an effort? Buy ready-made ruffle trim for your Christmas tree hat.
Add frills to the base
I sewed the ruffles one row at a time before sewing the actual cones together, while Courtney hot glued her ruffles to the pre-made cones (party hats). Either of them is ok! I love the stitching and adhesive finish.
attach a tulle sash
Use tulle or ribbon to create a ribbon sash to hold the hat in place. Attach one on each side to the inside of the hat. I sewed it by hand.
decorate
This is the most fun part! Decorate the tree as you like. Add a star topper by pasting a star on each side of a toothpick and inserting it into the tip of the cone. The Christmas tree hat is completed!


Buy this post